September 2026
Hansa Brandenburg D.1
Link to Website Index: 
Hansa Brandenburg D.1
Imperial Austro-
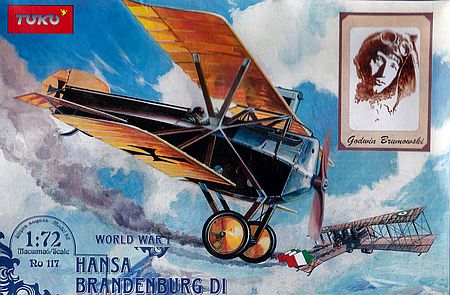
Toko 1/72

The Hansa Brandenburg D.1 was one of the less successful fighters of WW1, but
despite its poor performance it saw combat with the Austro-
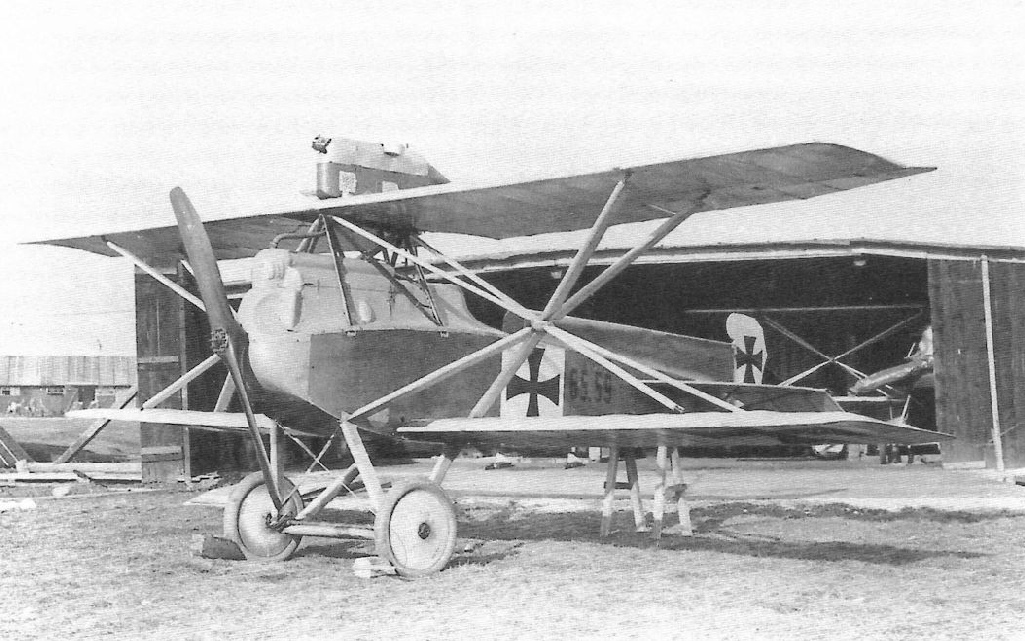
Its designer, the famous Ernst Heinkel, was working for Hansa und Brandenburg aircraft at this stage and developed a small single seater in 1916 with an unusual Star Strut Interplane arrangement. The deep fuselage restricted visibility and its small rudder was barely effective, neither of which were appealing to fighter pilots!
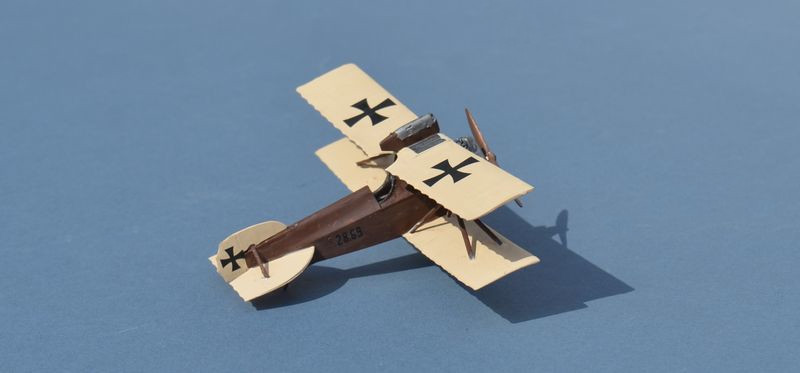
A Swarzlose machine gun, widely used by Austro Hungarian forces, was fitted as armament, but as it could not be synchronised with the airscrew, it had to be mounted inside a fairing on the upper wing.
Building the Toko Hansa Brandenburg D.1 Kit
I'm a great fan of these tiny and delicate Toko/Roden WW1 kits. Those of German/Austria/Hungarian origin particularly fascinate me, with some very bizarre designs and of course, some very gaudy camouflage schemes!
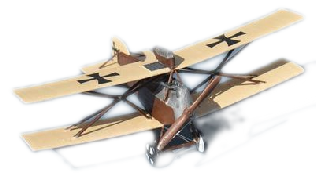
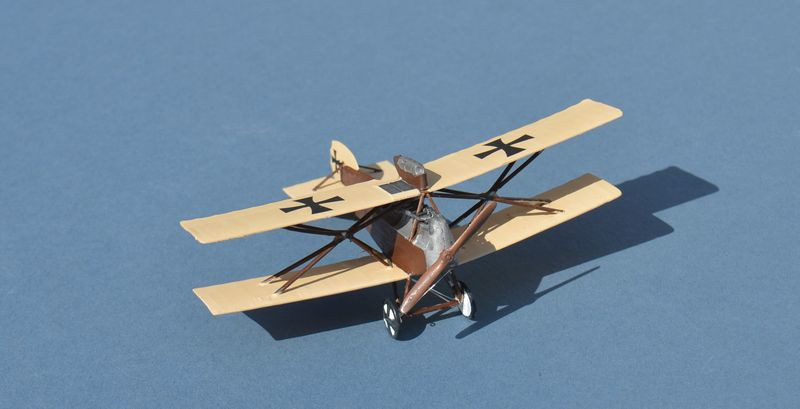
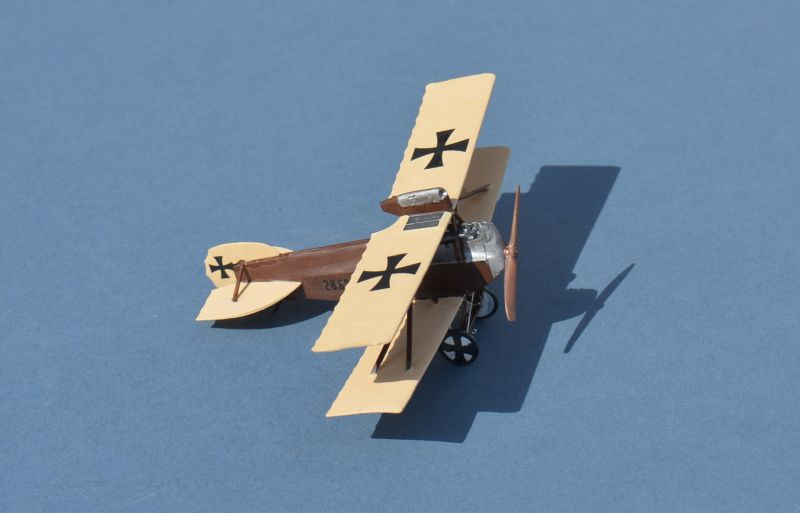
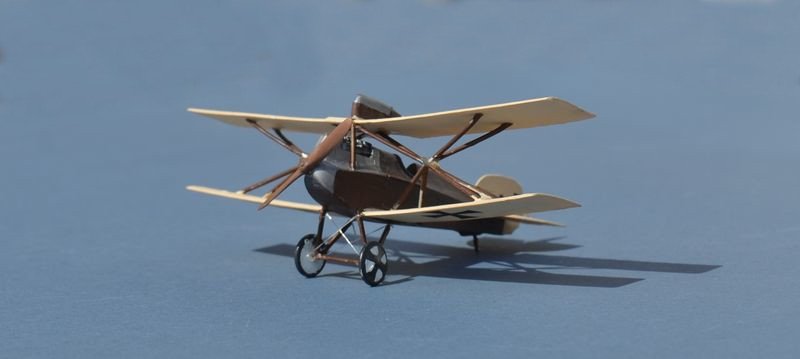
 This one doubly caught my eye because of its strange spider shaped interplane struts,
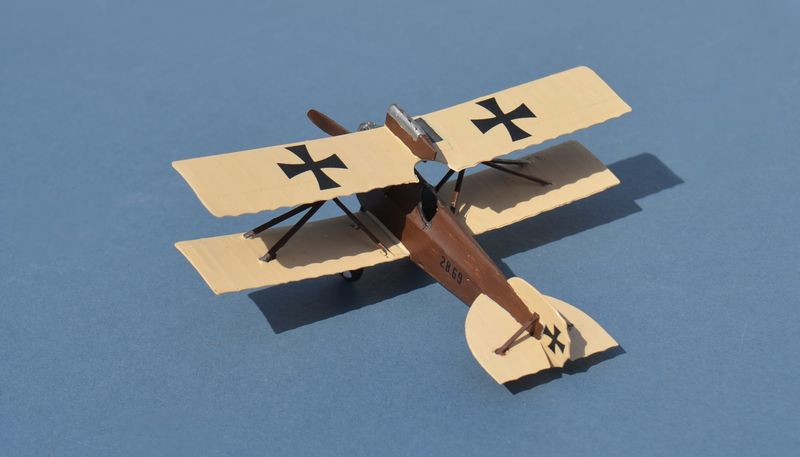
ugly fuselage profile and apparent undersized rudder and tailplanes!
This one doubly caught my eye because of its strange spider shaped interplane struts,
ugly fuselage profile and apparent undersized rudder and tailplanes!
This series of kits are always a difficult build due to their very fine detail and brittle plastic that can sometimes make it difficult to remove parts from the sprue cleanly. This one is definitely no exception, with some challenging build sequences, but for me this is part of their appeal.
Apart from a lack of location points and general fragility, the main issue is assembly of the interplane struts, which come in 3 parts each side. These in turn make it difficult to keep the main wings properly aligned and parallel to each other.
Getting the first 2 parts of each strut assembly to point where they are self supporting is fiddly but feasible; the final part is more of an effort and pretty much forces you to slow down the build over several days to allow the assemblies to harden and gain some strength. I left the delicate undercarriage assembly attachment until later in the build to allow me to assemble the wings on a flat surface.
Toko's provided scheme in this kit includes a slightly unconvincing decalled wooden fuselage and some very bright green/yellow top surfaces. The lower wing decals need to fit around the struts, which is a bit of a challenge and poses a decision of whether to fit them before strut assembly or afterward. I went for the latter to avoid messing up the decals as I fiddled with the struts; I'm not sure if this was sensible or not. I also seem to have placed the forward end of the strut in the wrong place, but only spotted this when it was too late to fix. Likewise, the decal for the wooden fuselage should really be fitted before the tailplanes. Although a set of alternative serial numbers are provided, there are no details of whether these should use the same green and yellow upper wing surfaces, or another colour.
In the end I decided to forego the dubious decals and make it a plain linen and wood
coloured airframe. (As seen in the book Fighters 1914-
All in all, this was one of the most difficult models I have EVER built. The end result is something I can live with, rather than being a model I am pleased with. It will be a good talking point at model shows I'm sure. No doubt some expert will immediately spot my major strut placement errors and declare that he/she has built a perfect one. The issue throughout was mould design and engineering, assembling a very fine and delicate model where the designer has made no noticeable effort to ease assembly. The kit detail is superb and beautiful, but almost impossible to build.
In over 50 years of modelling, I am proud to say that I have never abandoned a model as unbuildable, but this one came every close.

Link to Website Index:
Text & Images © www.gengriz.co.uk (unless otherwise indicated)