January 2025
Lockheed Martin F-
Lockheed Martin F-
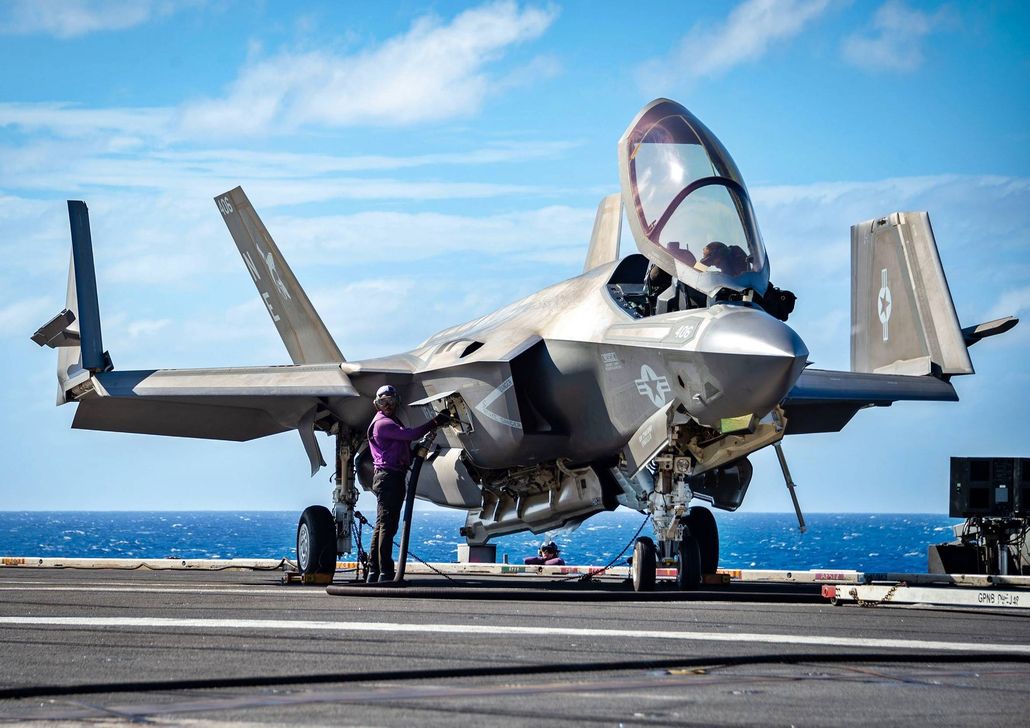
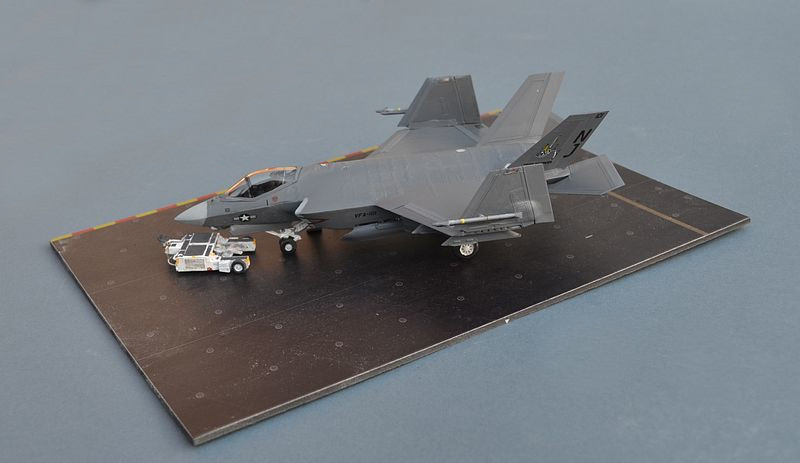
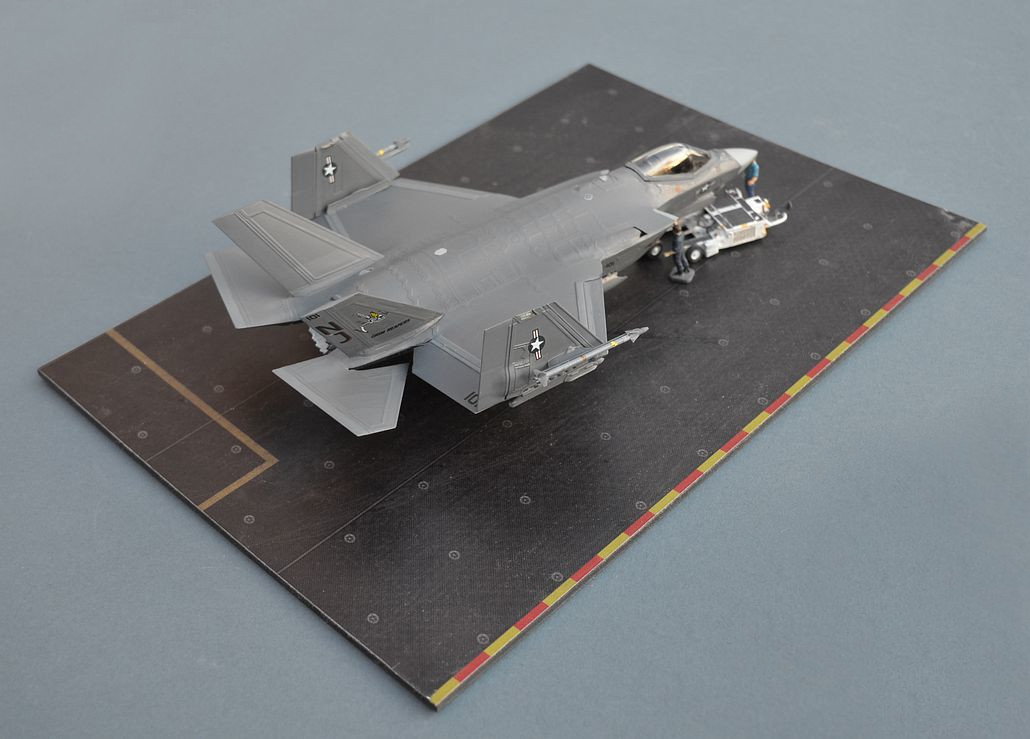
VFA-
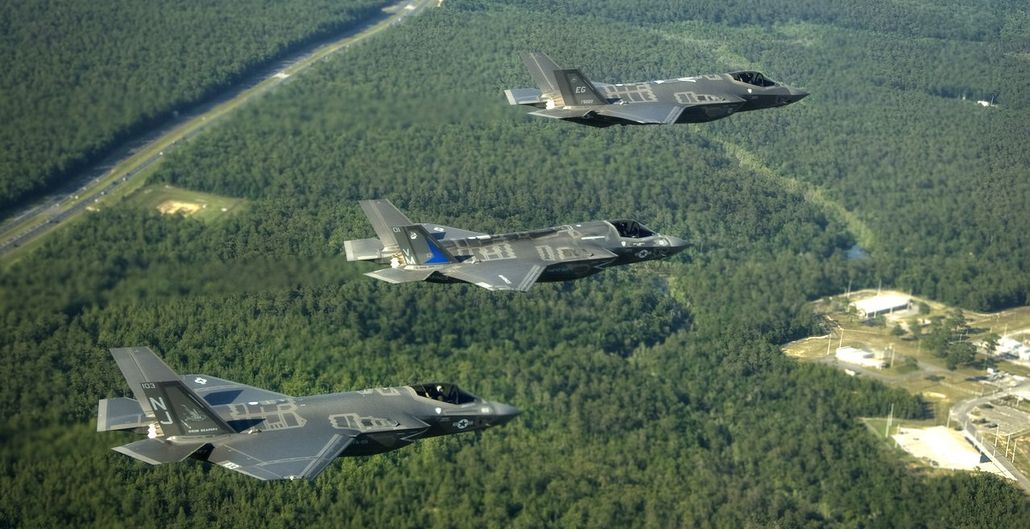
Eglin Joint Base, Florida, 2015
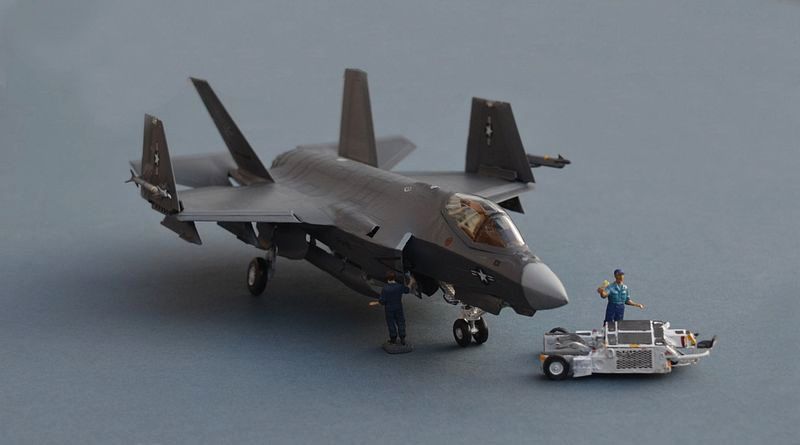
Orange Model 1/72
Text & Images © www.gengriz.co.uk (unless otherwise indicated)
The F-
The US Navy and US Marines are currently (and seem set to remain) the sole operators
of the F-
VFA-
Building the Orange Model F-
Completing my collection of all 3 variants of the F-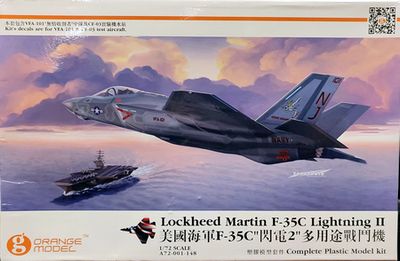 So far as I know, this is Orange Hobby’s first and only plastic kit (they have done
some resin ships), so purchasing it required some faith and optimism.
Nevertheless, it looks good in the box, with plenty of parts and detail, including
a small hangar deck tractor and three small brass etch sheets that include deck securing
chains. Underwing pylons are included, as is the centre line Terma F-
Assembly starts (as always) with the very good cockpit. The 4-
After attaching the bomb and undercarriage bays, you add the intake ducting. This is nicely conceived but needs careful trimming and positioning to get it to fit correctly and keep a smooth joint where it meets the fuselage. Finally, before joining the fuselage halves, you assemble the jet pipe, which includes turbine blades and a PE grid. Unfortunately, the pipe itself has a very thick moulding sprue at one end that is awkward to remove (risking either a broken scalpel blade, or a cut finger!).
Link to many more US Navy Aircraft on my Friends and Allies pages
Below: All 3 F-
A dry fit of the top and bottom fuselage halves revealed, as I expected, that some of the internal parts (mainly the intakes) were preventing the two parts from fitting together, so at this point I stopped for a break to allow everything to cure before starting some forceful hacking and fettling!
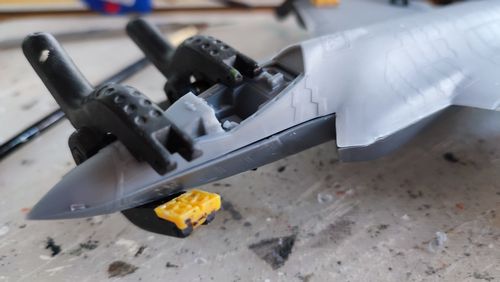 As I expected, the parts fouling the fit were the intake trunks, with the soft plastic
making it relatively easy to thin these out slightly. The locating pins are not
well formed, which probably didn't help me here and despite my efforts, some filling
of the edge will still be needed (as with all of my previous F-
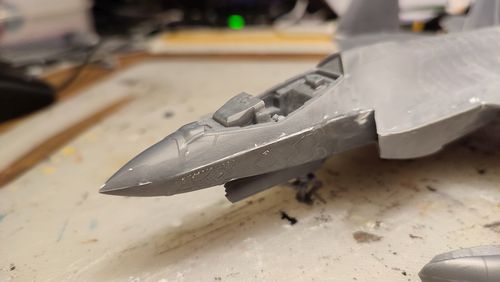
On joining the two halves, a different problem appeared, in that the port nose section seemed to have become misaligned and slightly bent out, leaving quite a large gap whatever I did. I suspect that interference between the nose wheel bay and the cockpit part were at least some of the problem (online reviews suggest others have had the same issue and I have seen at least 1 sprue that seems to have a warp in it even before building; reapplying the glue/solvent then using one clamp to hold it in and another to push it together seems to have resolved the issue for now.
A little bit of filling and sanding left the main fuselage tidied up and ready for detail to be added along with some paint.
 Assembly of the bomb bay doors is quite complex, but they fit together well and also
fit firmly into place in their fixing points, which is better than my experience
of other F-
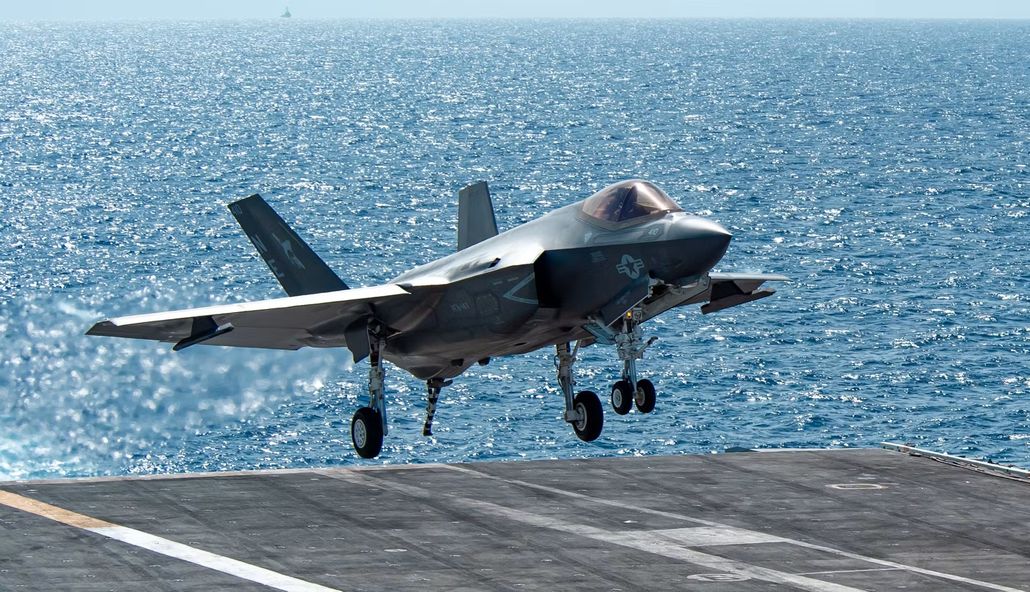
Pictures of F-
F-
The kit's provided armament includes two AIM120C AMRAAMs (the correct type, with
cut back fins to allow them to fit in the bomb bay) plus two AIM-
The canopy is beautifully clear, is lightly tinted (maybe a little too light) and includes the MDC detonating cord lines that appear on the real thing. The kit provides an option to fix it in the raised position, but this leaves it in a very vulnerable and delicate state. I started off with it raised, but 24 hours later it was bumped and broke off. Rather than reattaching it like this, I removed the fixing parts and fitted it closed.
Decals were a bit of a disappointment. Although nicely printed, they proved very
hard to remove from their backing sheet and once applied were either impossible to
move into position, or fell off of their own accord. They are a little translucent
too, meaning that the grey markings and stencils disappear entirely when applied
-
Background Image -
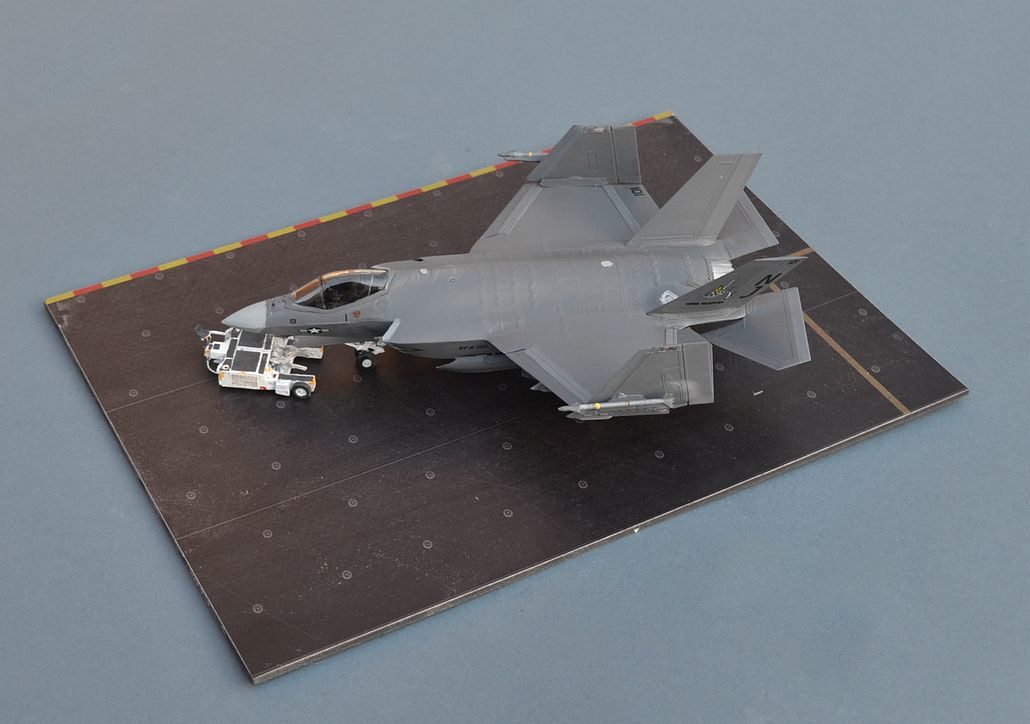
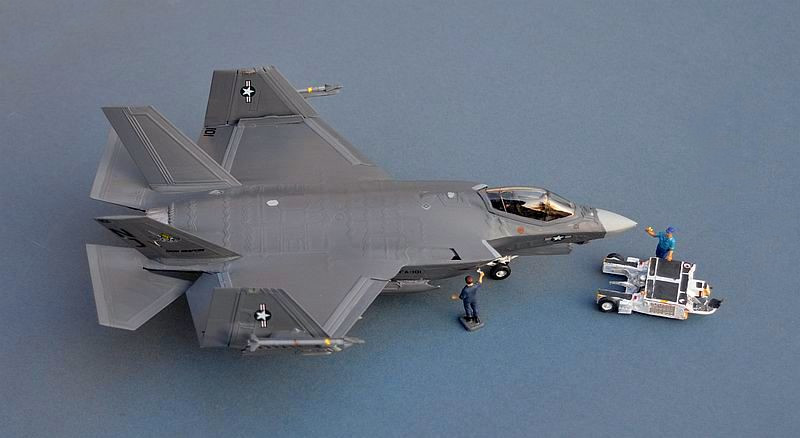
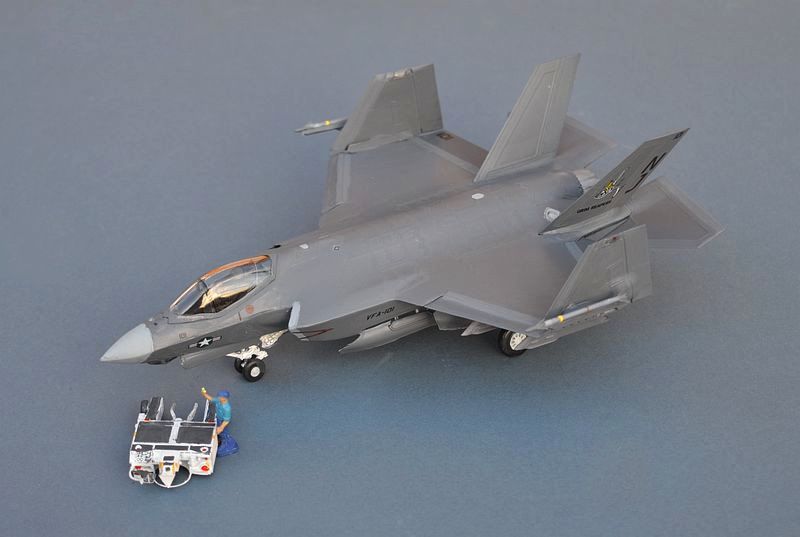
So, how does Orange Hobby compare with the new italeri F-
Both have tinted canopies, with Italeri's slightly darker and perhaps more accurate as a result. Orange Hobby's cockpit detail looks better to me. Italeri include an extensive set of masks to enable painting of the RAM panels. They also provide an engine (which of course, you can't see). I think Italeri's fine detail e.g. on the wing pylons, wheels and in the bomb/undercarriage bays, is better done but their engraved detail on things seems far too deep. Unfortunately, and this is quite a major problem, just like their A and B model kits, the RAM panels are far too prominent, especially underneath the fuselage, much more so than Orange Hobby and will definitely need serious taming in some way.
So, both reasonable kits, but with their own plusses and minuses. If I was asked
to choose, I would say I prefer the Orange Hobby version, mainly because of those
RAM panels, but both will build well and make an interesting contrast on the shelf
with the smaller A and B variants of the F-
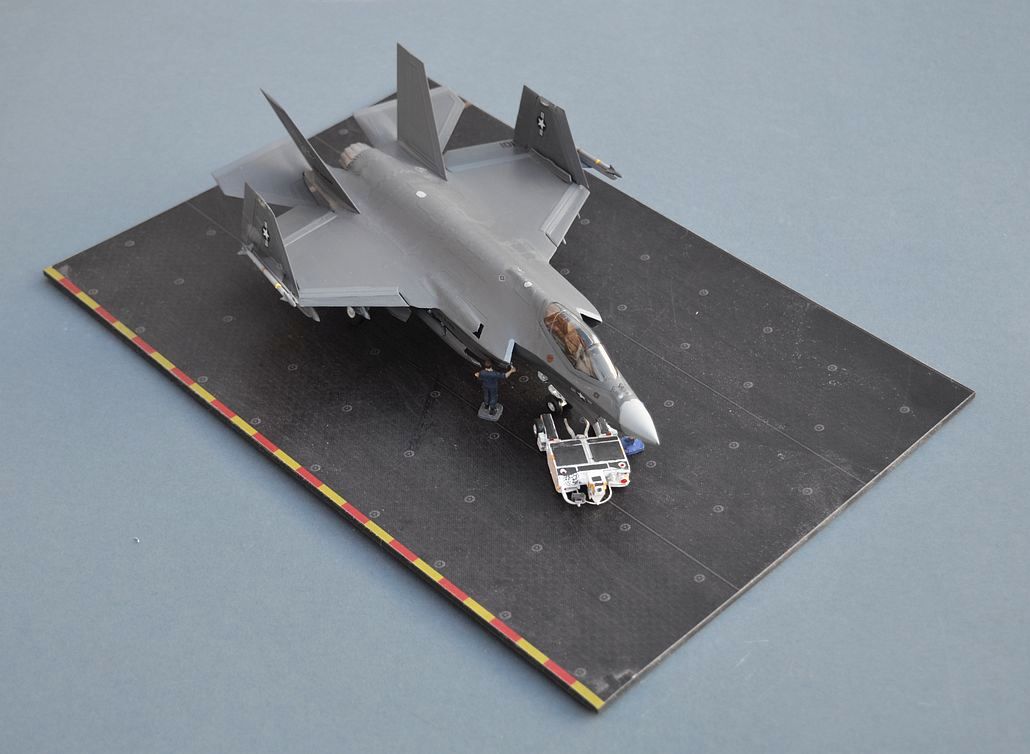
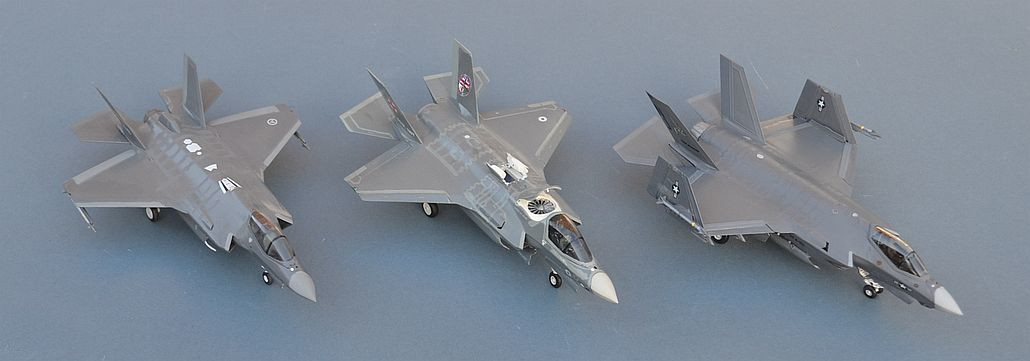
Above: From left to right, F-
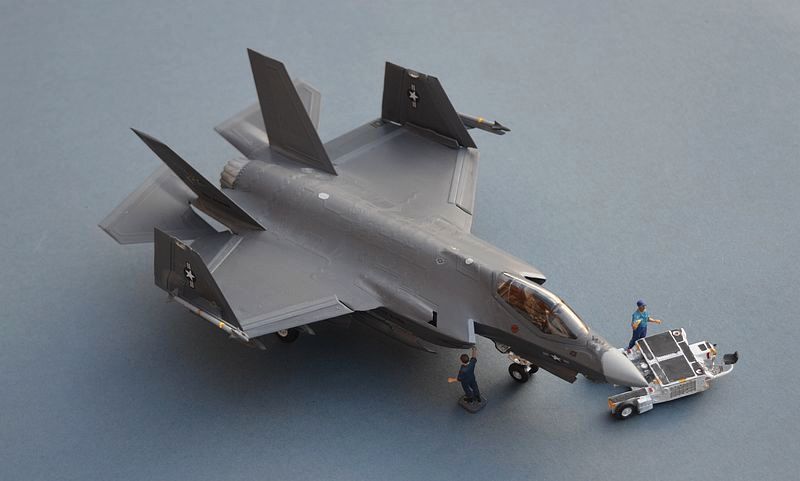
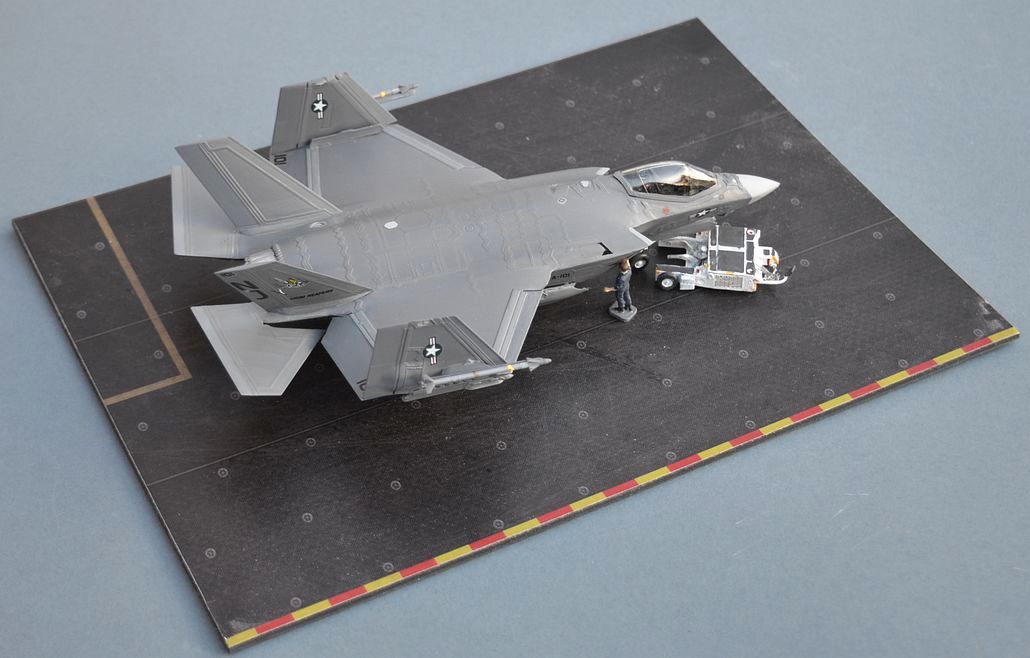
The included A/S32A Hangar Deck Tractor is an excellent little kit in its own right, with an extensive brass etch sheet to provide details. These tiny tractors, in several variants, have been in use with the USN since the 1990s. They are only used in confined spaces below decks and on the ship's lifts (including pushing on and off the deck).