November 2024 Part 1
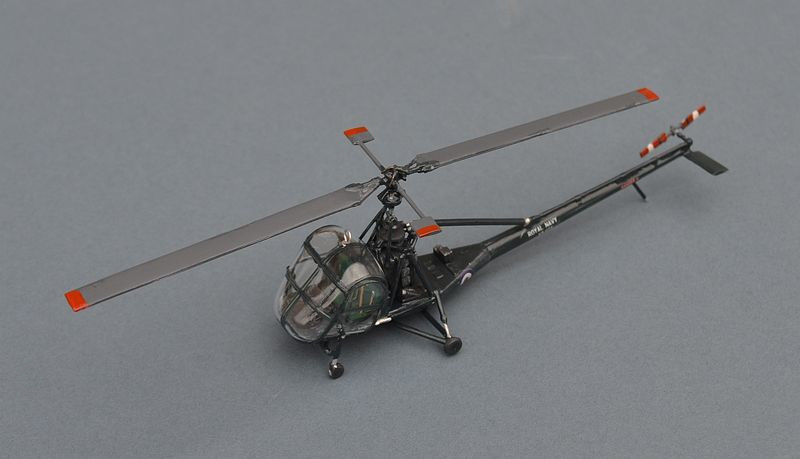
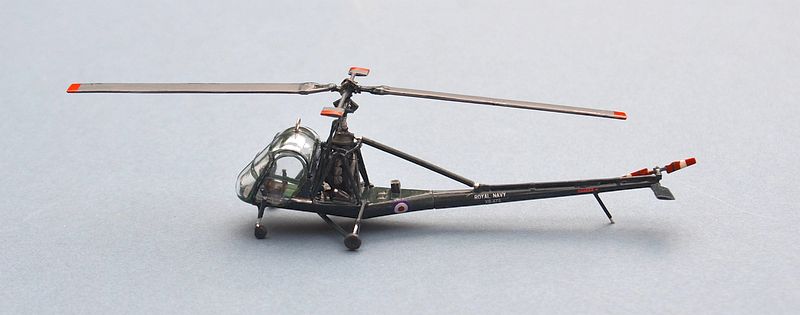
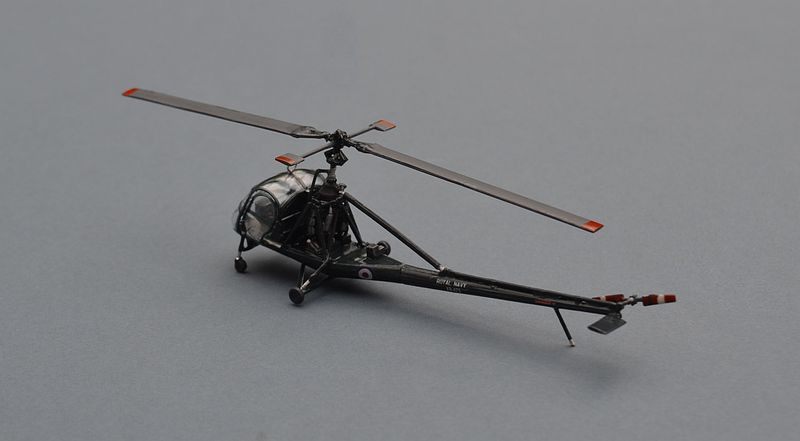
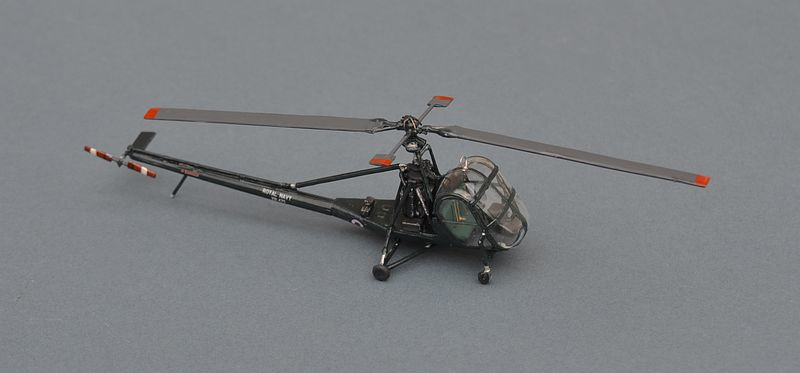
Hiller HT.1
Westland Wessex HAS.1
Hiller HT.1
705 Naval Air Sqn, RNAS Culdrose / Gosport 1954
LF Models 1/72
The Hiller HTE-
Powered by a six-
The initial batch of 20 HT.1s were former US Navy HTE-
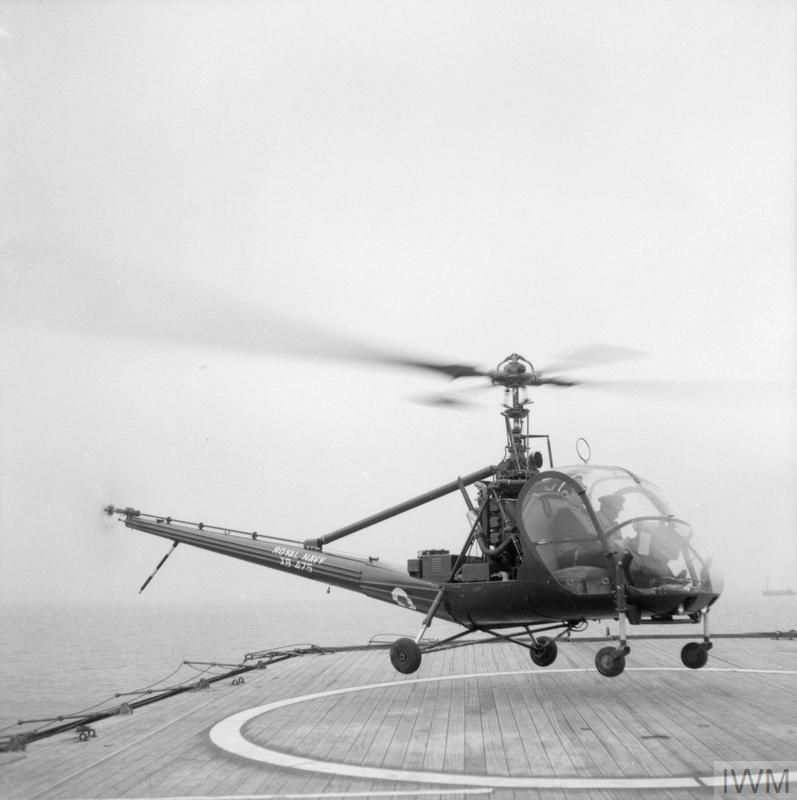
The aircraft depicted by the kit decals is XB475, an HT.1 (HTE-
Building the LF Models HT.1 Kit:
The last few years have seen a plethora of new helicopter kits from Czech company
LF Models. These are modern CAD designed kits using short run moulds and they have
covered a number of long-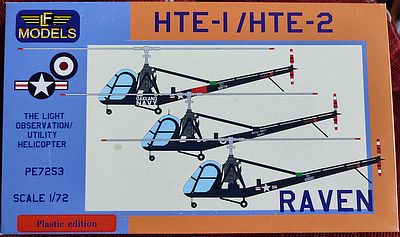
The Hillier has long been an obvious gap in my early RN Helicopters collection, one
where I have sometimes considered if a scratch build might be feasible, since it
seemed a relatively simple airframe shape. LF's model is not cheap, but looks to
be cleanly moulded and reasonably accurate shape. There are 2 sprues of grey plastic
and a third clear sprue. In this issue, a small decal sheet covers two US Navy aircraft
(an HTE-
It's not an easy build, as the airframe is in fact deceptively complex and delicate to assemble. Parts on the sprue are not numbered and there are a number of very similar looking alternative parts, so you will need to use the sprue diagram on the instruction sheet to identify the correct item. The cockpit goes together well, but the engine, which is a key part of this model, is extremely fiddly, with some poor fitting parts and ejector pin towers in very awkward positions. Getting the rotor mast to sit upright is not an easy task either, since there is little to use as a reference point on the kit; assembling this and the engine struts are a bit of a juggling feat. The indentations on the rotor deck do not seem to match the engine parts, which left me confused. I decided eventually, after a few tries, to fit the engine to the deck first, then build up the supporting struts. In the end it went together and came apart again several times before I was content. The task of then adding the rear fuselage and tail boom is equally fiddly, although fortunately, the upper tail boom strut does help to place the parts in the correct position. Nevertheless, the joints were not neat and needed some filling afterwards, not easy since access had become somewhat limited by then.
LF have provided only one part of the 3 part rear undercarriage on each side, and you are expected to cut the remaining parts from plastic rod. Assembling these is another delicate task; I assembled one side, left it to set, then assembled the other side. Whatever you do, this model will be a tail sitter and there is really no space to insert any weights, nor would the every thin undercarriage legs be up to supporting much. As a result, I have added a small prop underneath the rear fuselage (in the form of the tail skid that is actually intended to be there) to hold it up. Although I measured the plastic rod carefully in accordance with the instructions, they were clearly too long as the tail sits far too close to the ground, but this does allow me to use the skid as a prop.
The rotor head is very much simplified, perhaps inevitable given its very small size, although I do think moulding the top spider might have been possible. It is also very delicate and I have my doubts that the blades will remain attached for very long. I beefed mine up by flooding superglue over the blade joints afterwards and added some of the more obvious control rods from bits of sprue and wire, plus the missing top spider. I also used wire to create a loop DF antenna for the top of the cabin roof as his is quite distinctive on RN aircraft.
Painting posed a small conundrum. LF suggest the RN aircraft are dark blue, like the USN aircraft. I could accept this as possible, except that the very limited colour photographs I have all suggest that it should be the "RAF blue grey" used on most other RN helicopters. of course, it is possible that the aircraft were repainted at some time in their more than 20 years of service, but I have gone for the blue grey.
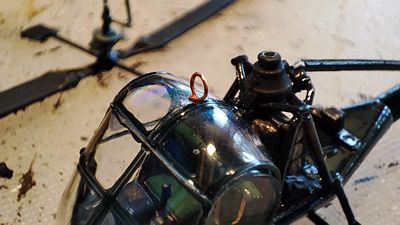 Painting the canopy proved to be straightforward, as it has nicely defined frames
(I painted these by hand, but since it has quite a complex shape, I could imagine
that masking might be quite challenging). At this point the slightly translucent
nature of Xtracolour enamel proved a bit of an nuisance, forcing me to apply a second
coat on the frames. The ports window/door has two options to accommodate the fact
that the port collective lever actually sits outside the door (how bizarre). My
pictures of RN aircraft show the bulged door rather than the half open one, which
is, I guess more appropriate to the British weather !
Attaching the canopy is another area that requires a lot of care. I fixed the lower front edge first, then attached the top rear section (carefully ensuring the inevitable adhesive spillage in a very obvious place !!!!). I then attached the doors, starboard first, then port. Unfortunately the fit of my port door was interfered with by the nose wheel and the port collective.
Although my nose wheel is fitted exactly where the guide holes place it, it does seem to be too far back, hence the clash. Some careful juggling got it into an almost acceptable position, with Kristal Klear white glue filling the remaining gaps.
The RN part of the decals is simple with only three decals for each side of the tail
boom (roundel, serial. RN title and danger marking). As I suspected, they are quite
translucent, but this didn't cause any problems once applied and they are finely
and accurately printed. More of an issue, the clear backing film is continuous, meaning
that you have to trim each decal very carefully to enable its application. I really
shouldn't be falling for this sort of trap at my age, but sadly I did and had to
trim them after I had wetted the parts of the sheet. The film is also very thick,
which doesn't help them to settle down on the ribbed tail boom; despite applying
them to a Klear-
This is a tiny little kit that looks the part when complete, but is a frustrating build and will be very delicate when complete. It is also comparatively expensive. Like an older “cottage industry” product, LF only really provide you the main parts as a basis for a build and whilst these have good detail and fit together well, many additional scratch parts will be needed to make it look a convincing replica.
If I were doing it again I might consider adding some interest e.g. with a pilot figure wearing a white RN Officer's hat! Nevertheless, I'm certainly glad I now have this model in my collection, but I can only recommend it to those who really want a Hiller kit and are up for some old fashioned modelling.
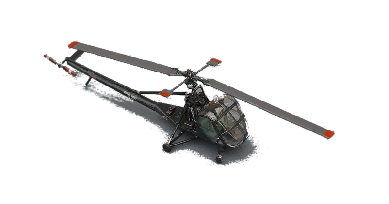
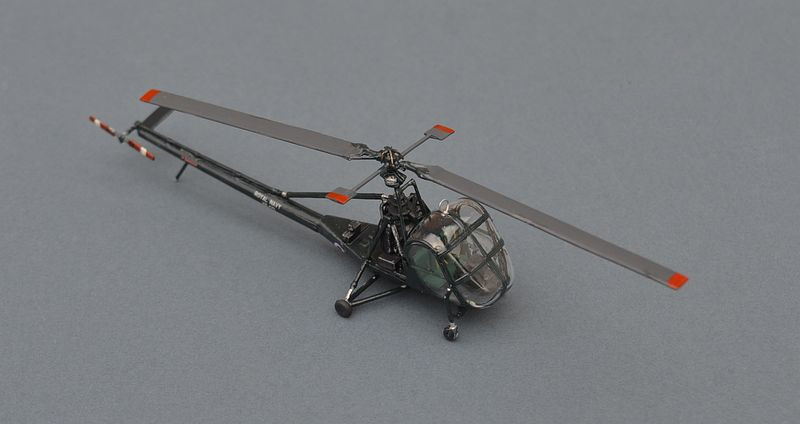

Below: Together with some of my other small early helicopters, a Westland Sioux AH.1 and a Sikorsky R4:
Above: © IWM (A 32877) The subject of the model makes a rare deck landing.
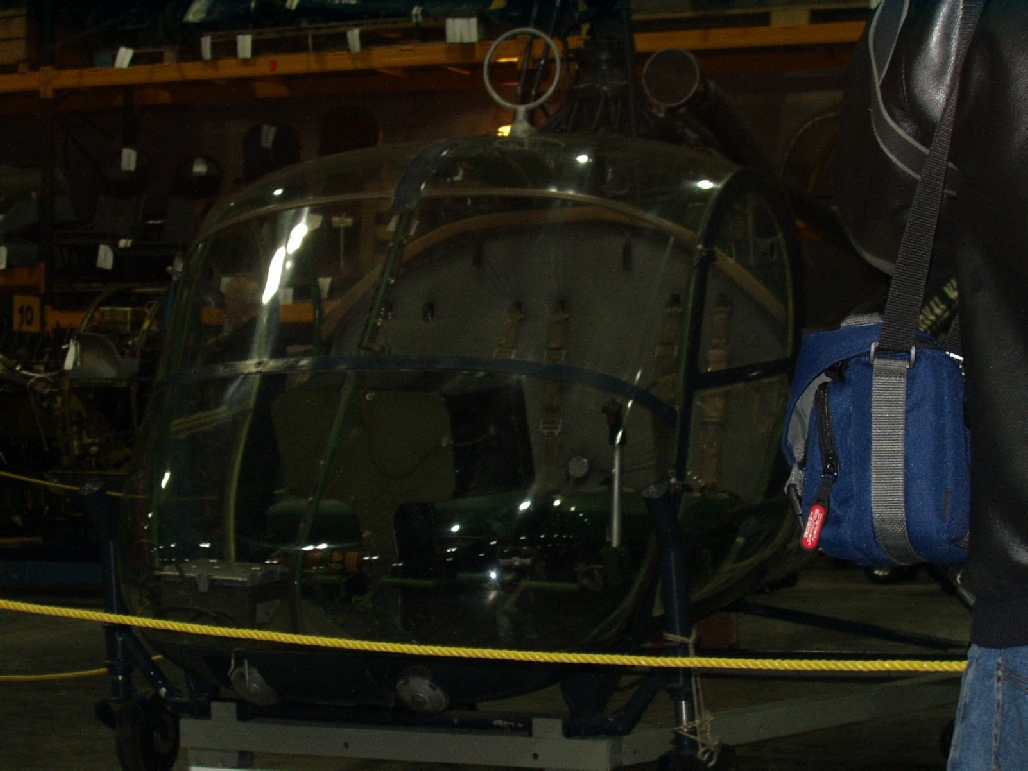
Below: A Hiller currently sits in the Fleet Air Arm Museum’s Cobham Hall reserve collection.
Link to many more RN helicopters on my Flight Deck pages
