March 2022
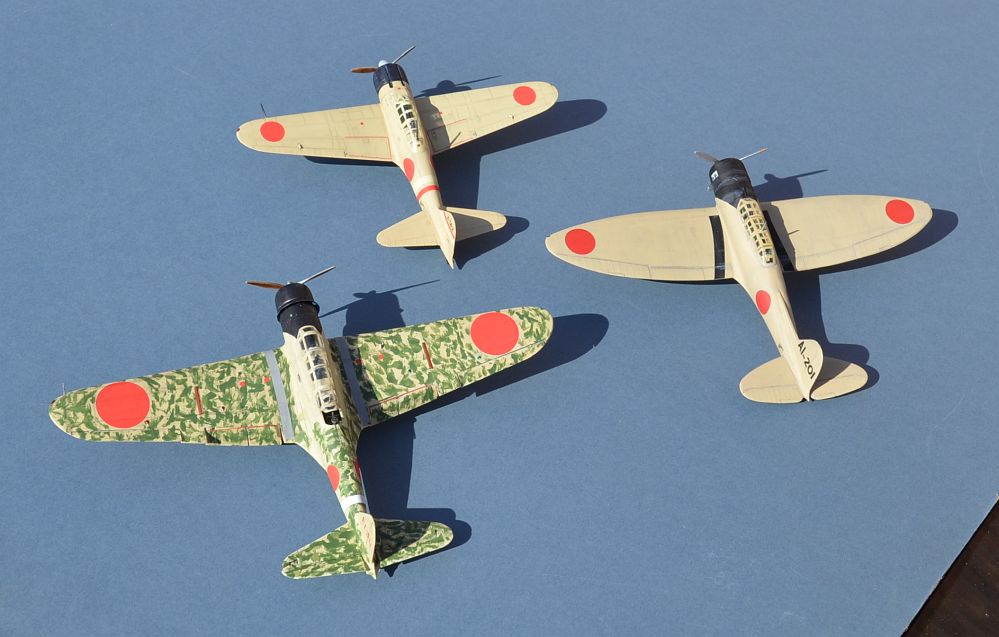
A6M2b Zero
B5N2 Kate
D3A Val
Link to Website Index: ![]()
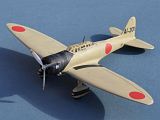
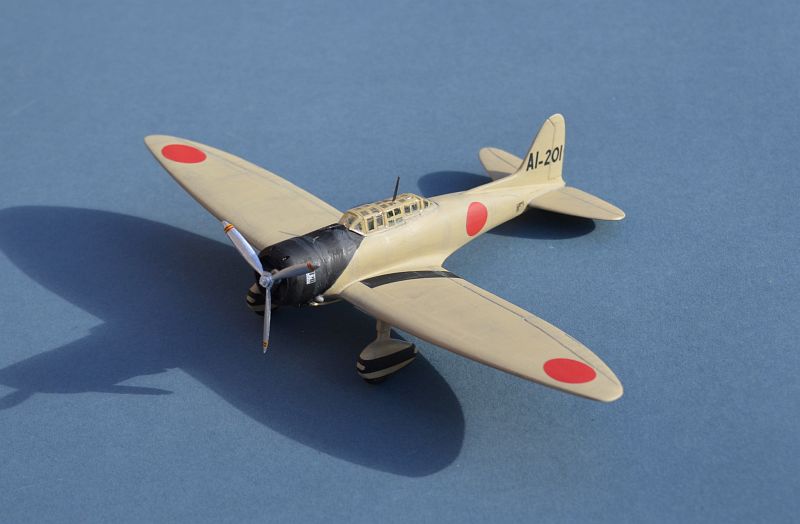
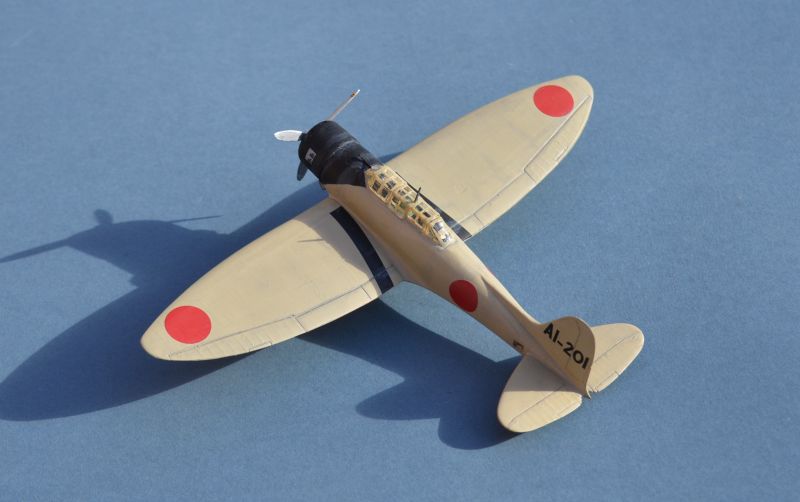
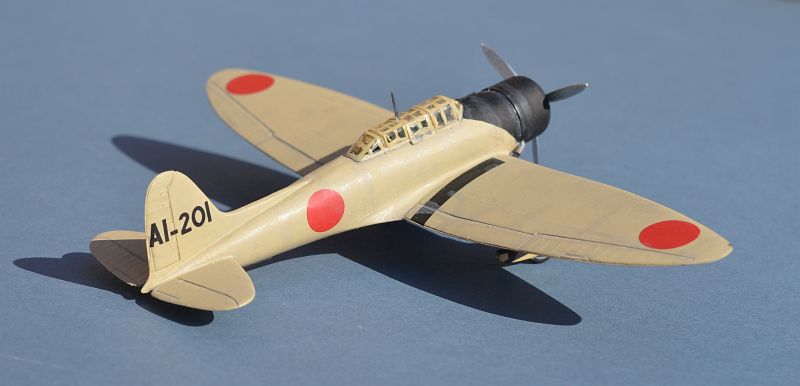
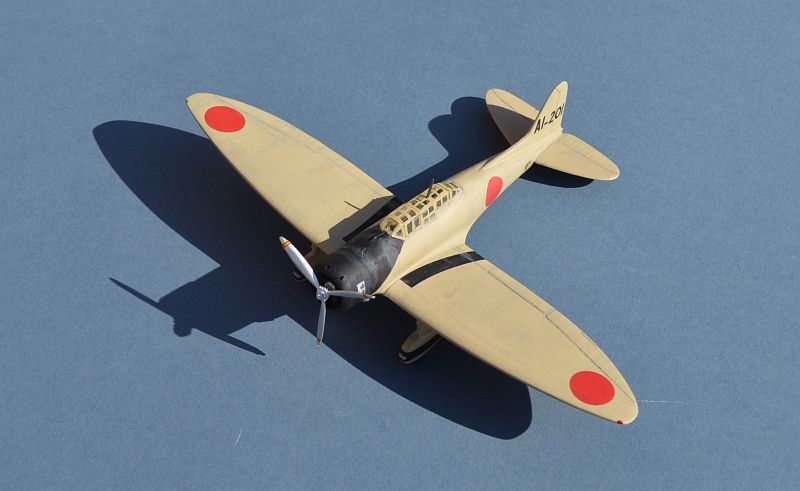
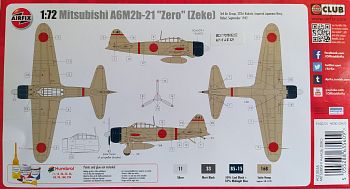
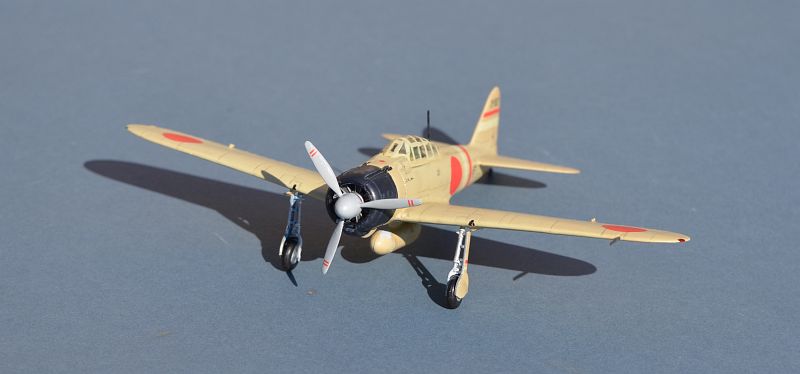
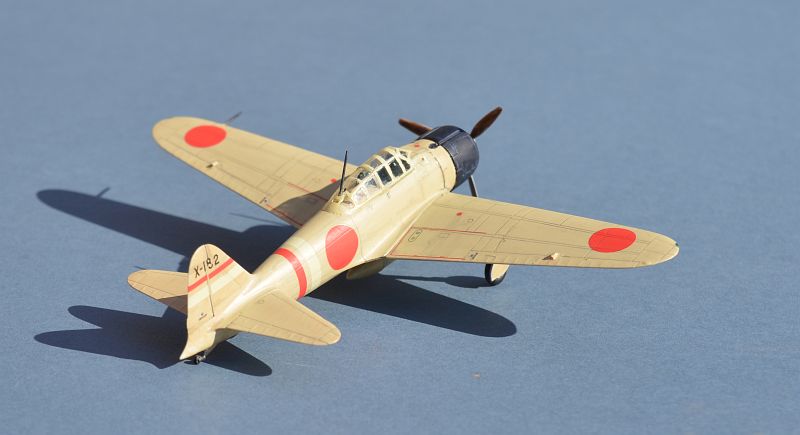
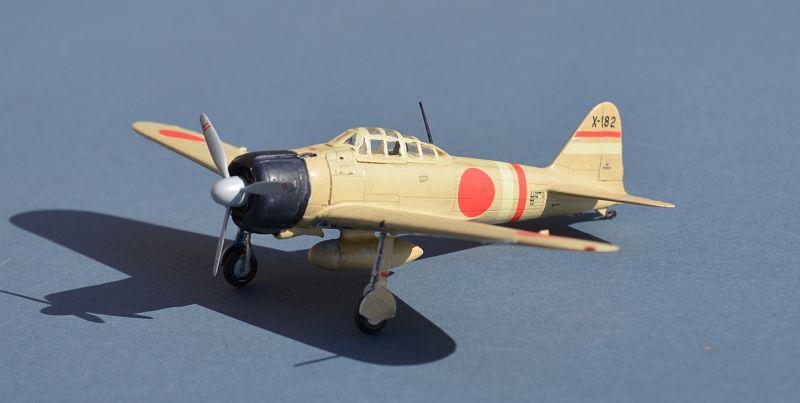
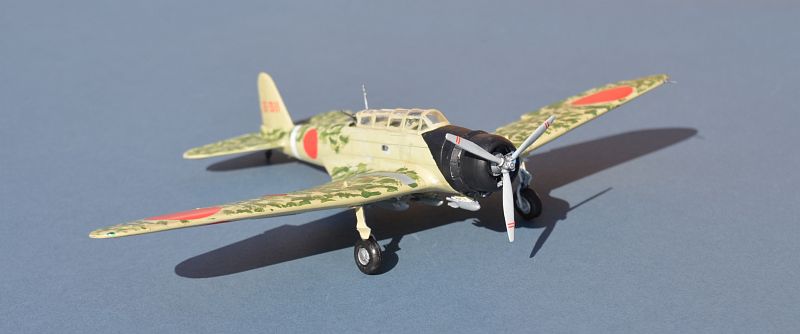
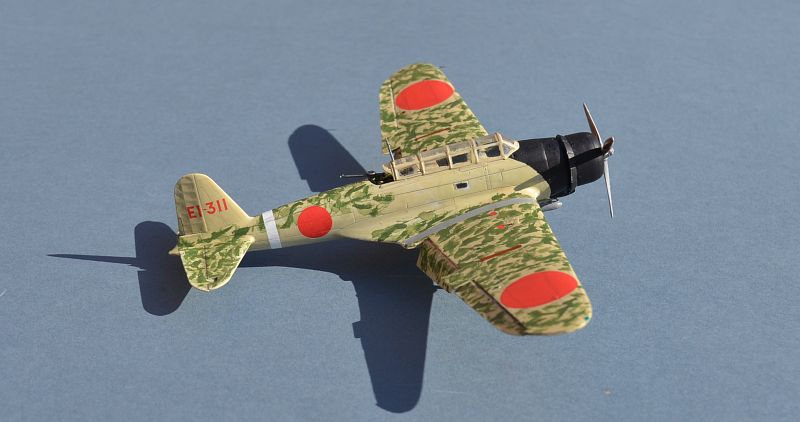
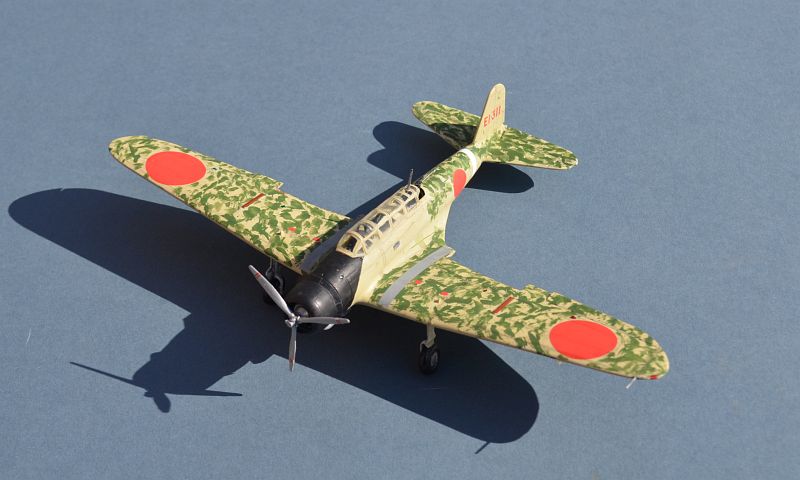
Mitsubishi A6M2b Reisen (Zero) 零 戦
(Allied Reporting Name Zeke)
3rd Air Group 2020 Kokutai, Imperial Japanese Navy, Rabaul September 1942.
Airfix1/72 .
Link to Website Index: ![]()
© www.gengriz.co.uk
The Mitsubishi A6M “Zero” is one of the best known Japanese aircraft of WW2, indeed of all time. Designed for exceptional speed and manoeuvrability and introduced in 1940 against a shroud of secrecy, its combat performance came as a great shock to the Allies, outpacing all of the Allied aircraft available at the start of WW2.
The A6M2b Model 21 variant dominated the early war years, with 500 built by Mitsubishi
and another 800 by Nakajima. Armament was 2x20mm canons in the wings and two 0.303
machine guns in the engine cowling. The outer wing sections folded to fit the smaller
Japanese carriers. It was widely considered the best fighter in the world until
1943, when more modern Allied aircraft arrived in-
202 Kokutai was an elite fighter-
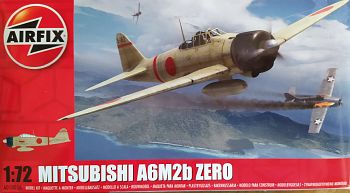
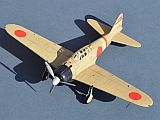
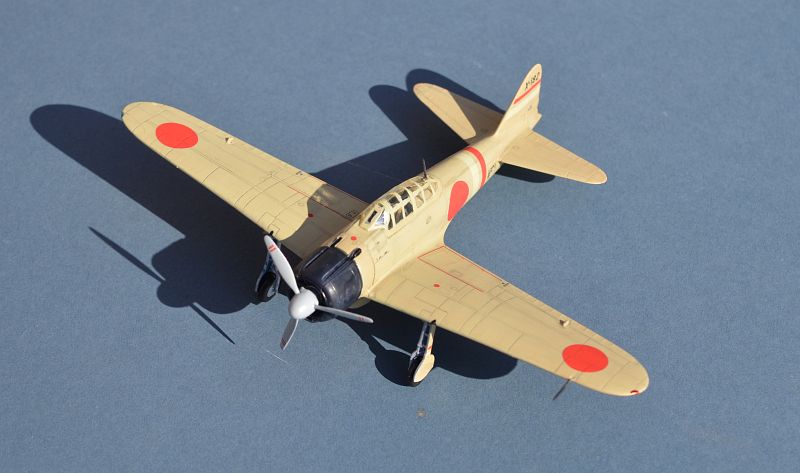
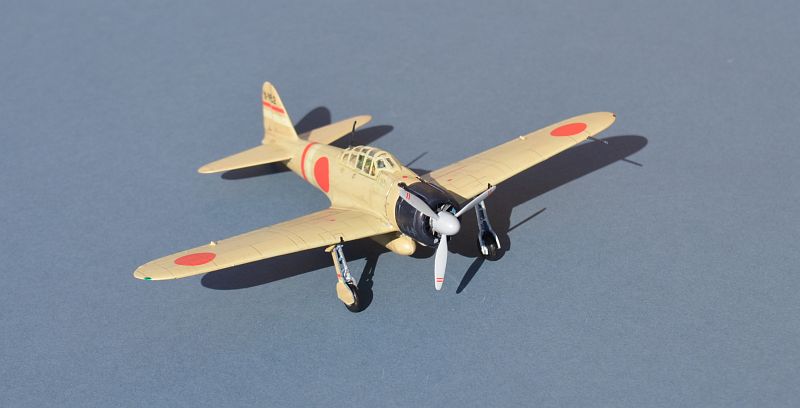
Building the Airfix Zero Kit:
The “new tool” Airfix Zero first appeared in 2011 and has seen several re-
This particular issue comes with markings for an aircraft in the early Amber Grey overall colour scheme. As with most Japanese aircraft, the decals are relatively simple with few maintenance stencils or unit markings. As always, Japanese aircraft colours can be a minefield; Airfix recommend the use of their Humbrol 168 Satin Hemp paint for this one. I couldnt get hold of this, so mixed my own approximated colour from Revell Sky and Humbrol brown. This is a little lighter than the Humbrol hemp, which seems to match the tones in pictures more accurately. I may, of course be very wrong, but it looks OK to me :)
The kit comes with an adequately detailed cockpit for this scale (using a decal for instruments). Airfix have regularly suppllied these for “make and paint” sessions at model shows, and it is a good choice for this, being relatively easy to build, but also having good fit and good accuracy.
For the decals, it is perhaps a little disappointing that they have chosen to ignore the many Japanese Navy units that fought against British forces and concentrate on those that fought the US. I guess marketing has driven this, but either way, this is a nice kit that is recommended for all !
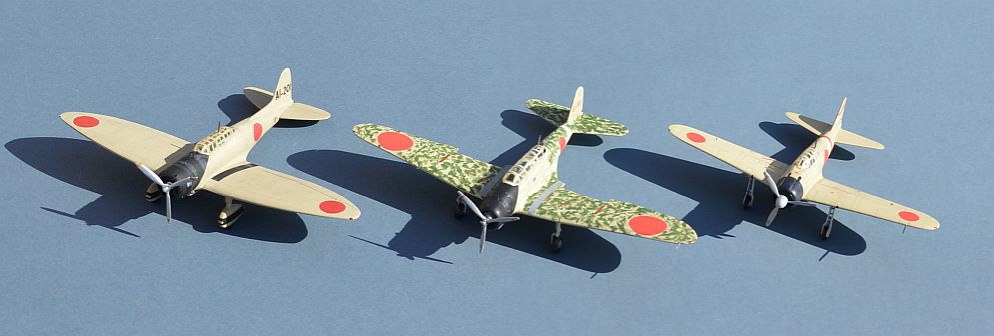
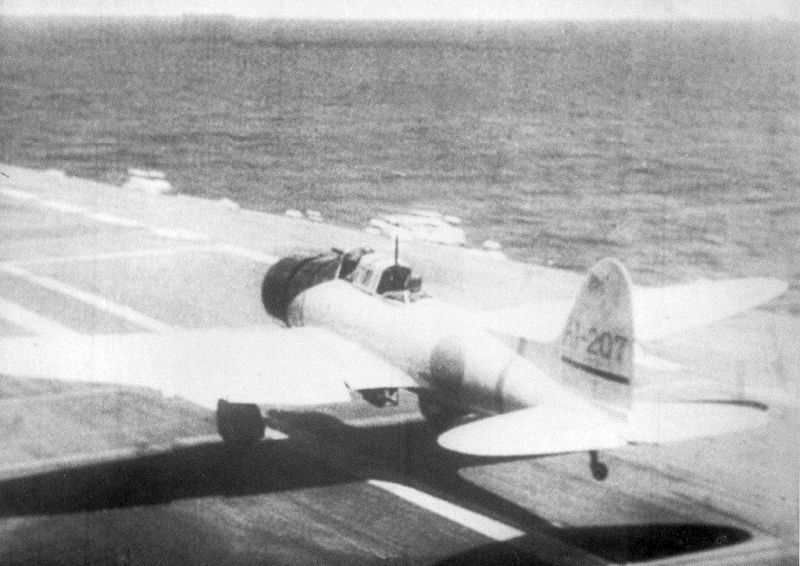
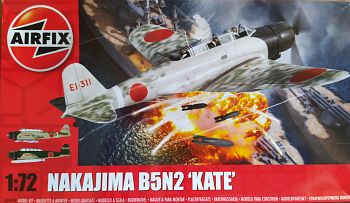
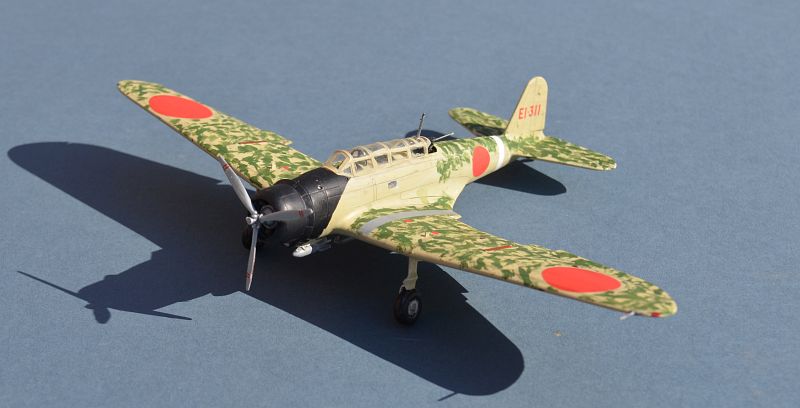
Nakajima B5N2 Kanko 九 七 式 艦 上 攻 撃 機
Shōkaku Air Group, Imperial Japanese Navy, Pearl Harbor/Indian Ocean 1941/42.
Airfix1/72 .
The B5N2 was the main Japanese Carrier Attack Aircraft at the start of WW2. Capable of carrying a torpedo or a level bomb load, the Kate operated at sea and from the land. Changing between bombs and torpedoes required replacement of the bomb racks, not a simple process and one that was to limit success during the Ceylon attacks and have dramatic consequences at Midway, both occasions when Japanese indecision over the correct weapon load was to count against them.
Kates operated in well practised and co-
B5N2s from the carrier Shōkaku, led by Lt Cdr Shimazaki IJN, took part in the second wave of attacks against Pearl Harbor in December 1941, targeted at Hickam Field air base and inflicting extensive damage to facilities and to aircraft on the ground. Four months later, in April 1942, Shimazaki participated in the Indian Ocean Raids , leading 18 Kates in an attack on the port city and RN Base of Trincomalee. He also led attacks in the battle of The Coral Sea, including the sinking of the carrier USS Lexington on 8 May 1942. Shimazaki was killed in action in January 1945 near Taiwan.
Building the Airfix Kate Kit:
Because of my general enthusiasm for "nostalgia" kits, I haven't built that many
of the new-
The lower wings come as a single piece, with a remarkably detailed cockpit built in. Not only does this make it easy to assemble, but it helps massively with painting, giving a stable and accessible work area to "do some magic". Indeed, the interior of this kit is one of its strong points and makes it almost essential to build with the canopies open (I tried, but due to my ongoing issues with painting canopies, I reverted to the option of only the rear canopy open).
The kit is moulded in India, in the now-
You can probably tell that I like this kit!
Attaching the wings identified a small issue, in that the trailing edges of the wing
fillets would not close. Some pressure and liquid glue helped, but a smidgeon of
filler was needed to complete these. Unfortunately the top of the fuselage in-
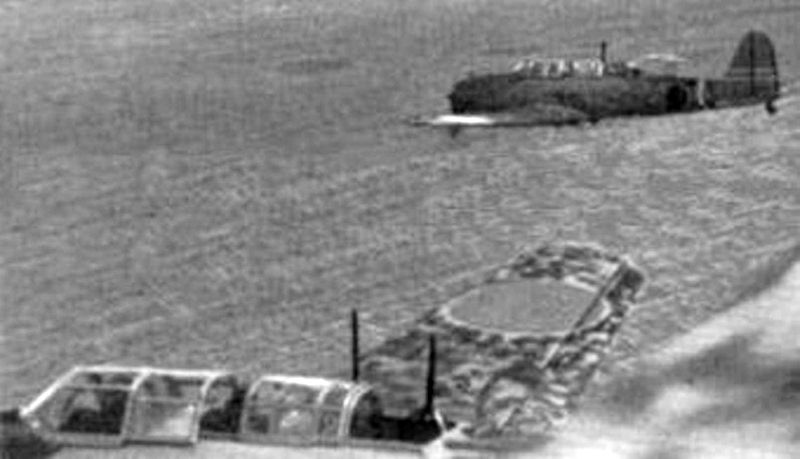
As with any Japanese WW2 model, colours do pose a bit of a conundrum. The more you look, the more you doubt. My intention was to build the Pearl harbour scheme aircraft from the carrier Shokaku, not least because the same unit (although I don't know about this specific aircraft) conducted the (relatively) unsuccessful Indian Ocean Raid against the Royal Navy several months after Pearl.
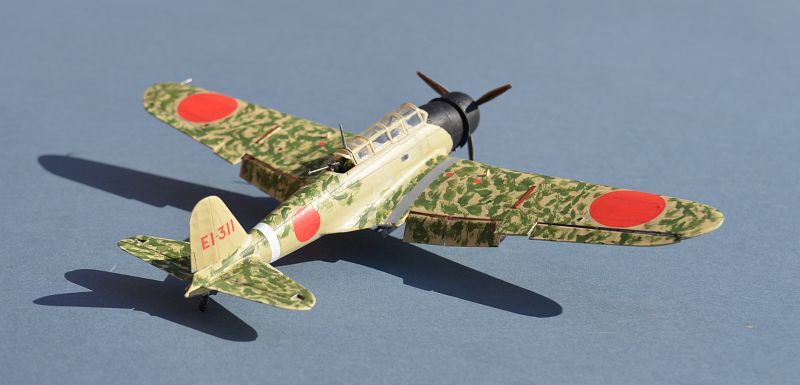
Airfix suggest that the base colour should be the slightly brown/green IJN grey with
green "snake" mottling, although several other sources show a silver base with green
and brown mottling, whilst others show roughly applied green wings and very light
mottling on the (grey) fuselage ! In the absence of any other evidence (but see
the picture at the end of this section), I went with Airfix, whose modern-
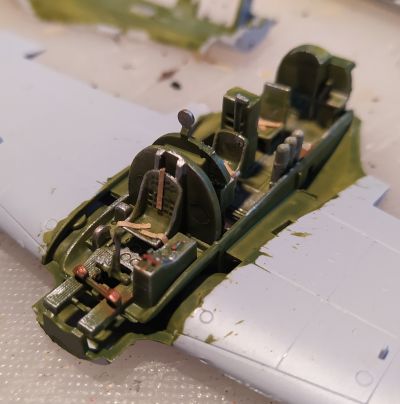
The last main assembly is the canopy, for which Airfix provide 3 options, closed, gunners position open and all hatches open. Given the marvellous cockpit, this is very welcome. Frames are well defined, helping with painting, but the folded canopy section is difficult to represent well, since some frames are internal.
Several arming options are provided, ranging from small bombs, a mix of small and large bombs, a massive bomb and a torpedo. An early decision is needed on these, since the relevant holes for their different mountings need to be drilled out before the wings are assembled (the first step). I have also seen suggestions that the options are not correct for the Hickam Field raid. The instructions, which are fully to Airfix's current superb standards, show exactly which holes match what and these are clearly marked by partial holes in the wing.
The decals in this issue cover the aircraft from the carrier Shokaku at Pearl Harbor,
plus a later land-
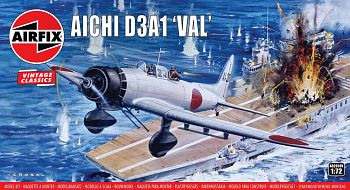
Aichi D3A1 Kanbaku 艦 爆
Akagi Air Group, Imperial Japanese Navy, Pearl Harbor/Indian Ocean 1941/42.
Airfix1/72 .
The Val dive-
Vals led the attack on Pearl Harbor, opening the pacific War against the Allies. The D3A1 took part in all major Japanese carrier operations in the first 10 months of the war and achieved their first major success against the Royal Navy during the April 1942 Indian Ocean Raid against the British Eastern Fleet anchorages and ports in Ceylon.
Operating off the coast of Ceylon, D3A1 dive bombers showing exceptional accuracy (80% of bombs hitting their targets) sinking HM Ships CORNWALL, DORSETSHIRE, HMAS VAMPIRE and the Aircraft Carrier HMS HERMES. Unfortunately for japan, like the attack on Pearl Harbor, the raids on Trincomalee and Colombo, whilst spectacular, missed their main targets, the British Carriers HMS FORMIDABLE, HMS INDOMITABLE and the battleship HMS WARSPITE, all of which had put to sea on warning of the Japanese raid.
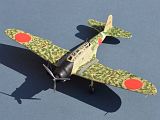
Building the Airfix Val Kit:
For an aircraft that played such a key role in WW2, the Aichi Type 99 Model 11 D3A1 "Val" is remarkably difficult to model in 1/72 scale. After all, this is the aircraft that dealt a near fatal blow to the US Navy at Pearl Harbour, quickly followed up by a similarly decisive blow against the British Eastern Fleet during the Indian Ocean Raid. The "Val" sank more Allied ships during WW2 than any other Axis aircraft.
Nevertheless, kits are few and far between, of varying quality and often difficult to get hold of. It probably doesn't help that the Fujimi 1/72 kit, probably the best option, has cornered the market, but seen very limited availability in Europe.
So here we are with the ancient Airfix kit, first issued in 1965. Not surprisingly,
it is a kit of its time with minimal detail (especially in the cockpit), oversize
rivets and a slight vagueness over its exact type. VERY different from the other
two kits I have built this month. That said, the moulds, old though they are, do
seem to be in good condition even after 57 years. This is the current (2022) issue,
with decals matching the original artwork for an aircraft of the Imperial Japanese
Navy carrier AKAGI, at Pearl Harbour on 7th December 1941. The markings are a little
bit "iffy", as most pictures show the tail numbers in red, with a coloured fuselage
band and the anti-
As this was a quick nostalgia build (actually I have never done one of these before),
I have used the Airfix kit decals and scheme largely unchanged. I mixed up the IJN
green/grey paint myself once more. Airfix in the current release suggest Hemp (168),
which seems to have general approval amongst modellers, although they previously
suggested beige (90) which is a lot more green. I suspect the answer lies between
the two. With little detail in the kit cockpit, I modified the after seat and fitted
a replacement forward seat, with paper seat belts and a mid-
This is an old kit but, standfast the canopy, it builds well. Whilst it would not please the Val expert it is ideal for a quick nostalgia build and also I suggest, suitable for the beginner.