Apr 2021
Boeing E-3D Sentry AWACS
Link to Website Index: 
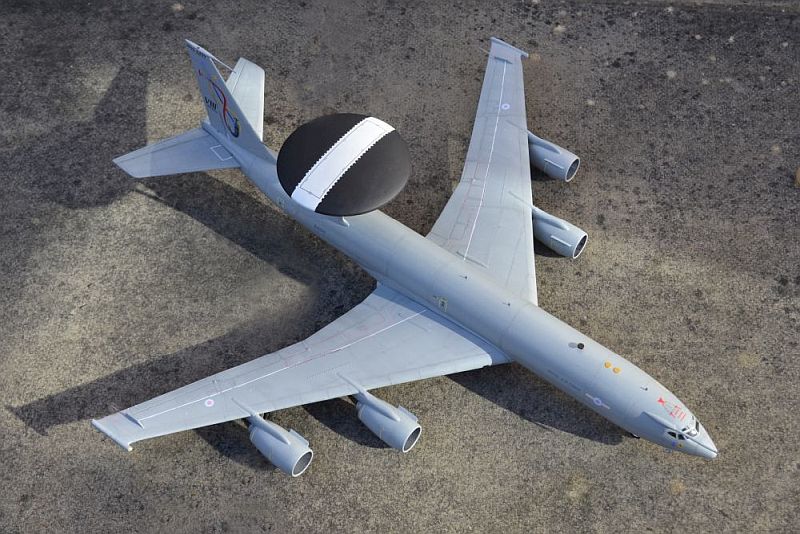
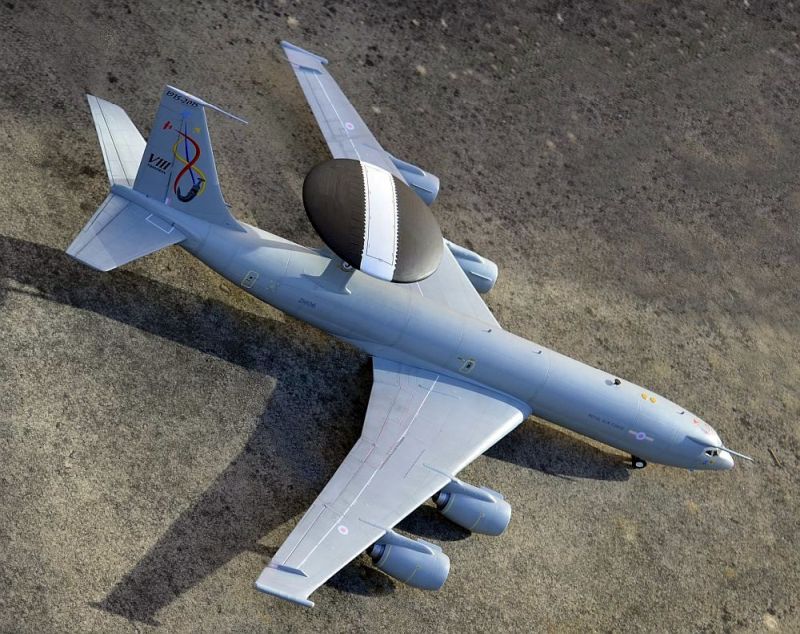
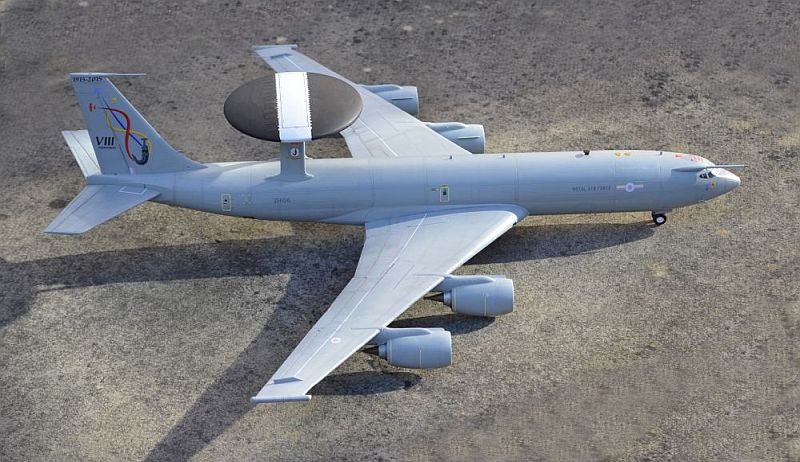
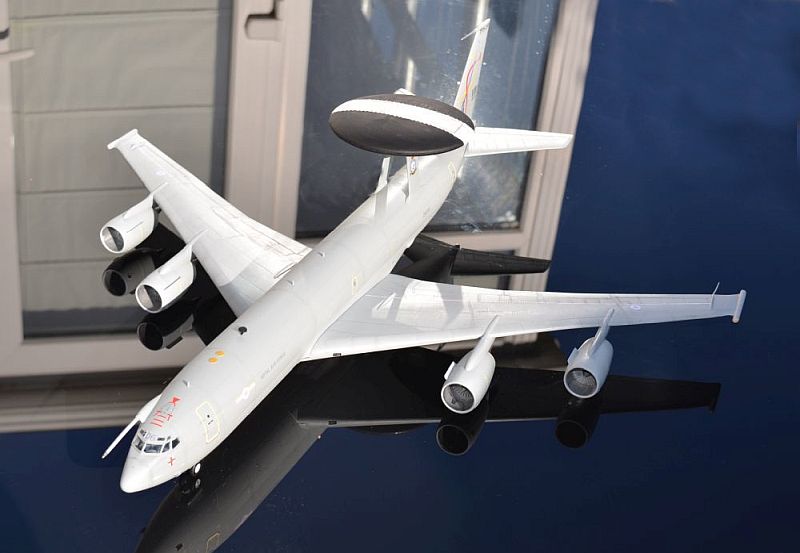
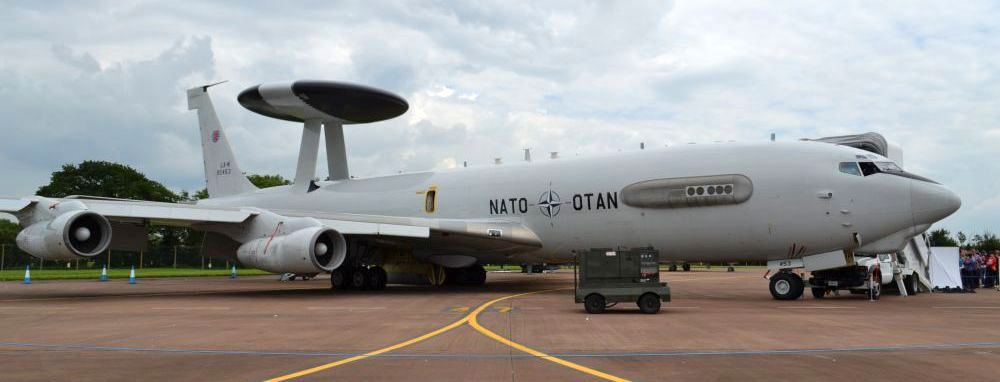
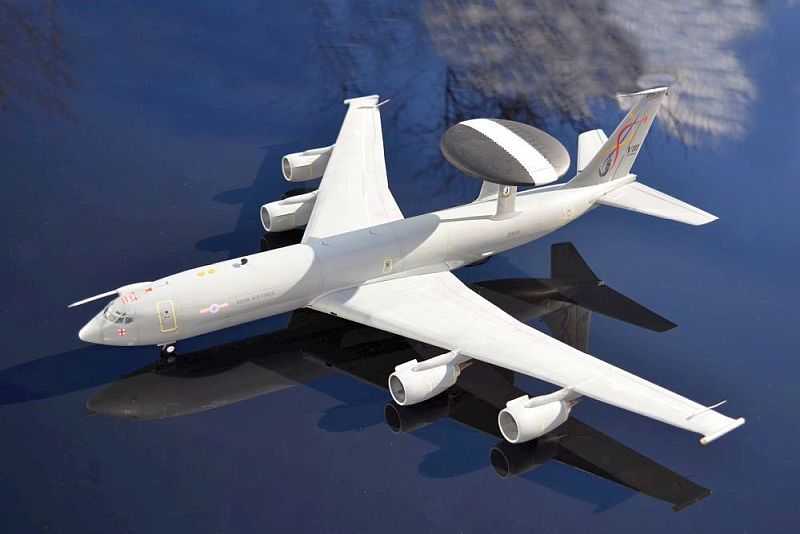
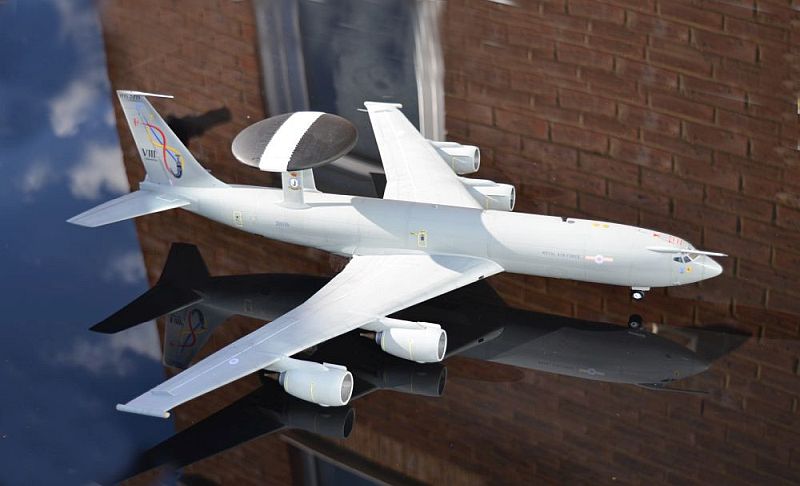
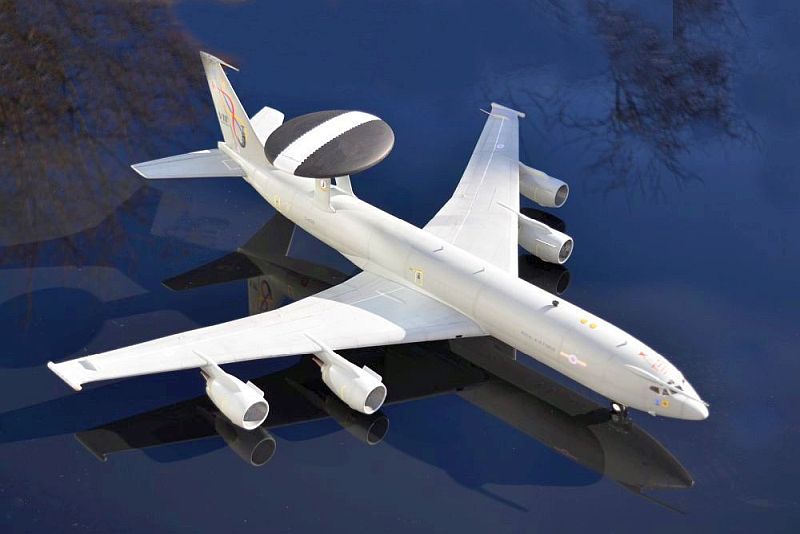
Boeing E-3D Sentry AWACS VIII Sqn RAF Waddington, 2015
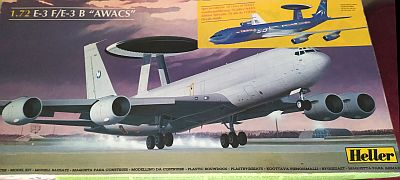
Heller 1/72 , with Combat Models decals.

The Boeing E-3 Sentry entered service with the USAF in 1977 and a total of 34 aircraft
have been built, serving with the USAF, NATO, the RAF, French Air Force and Saudi
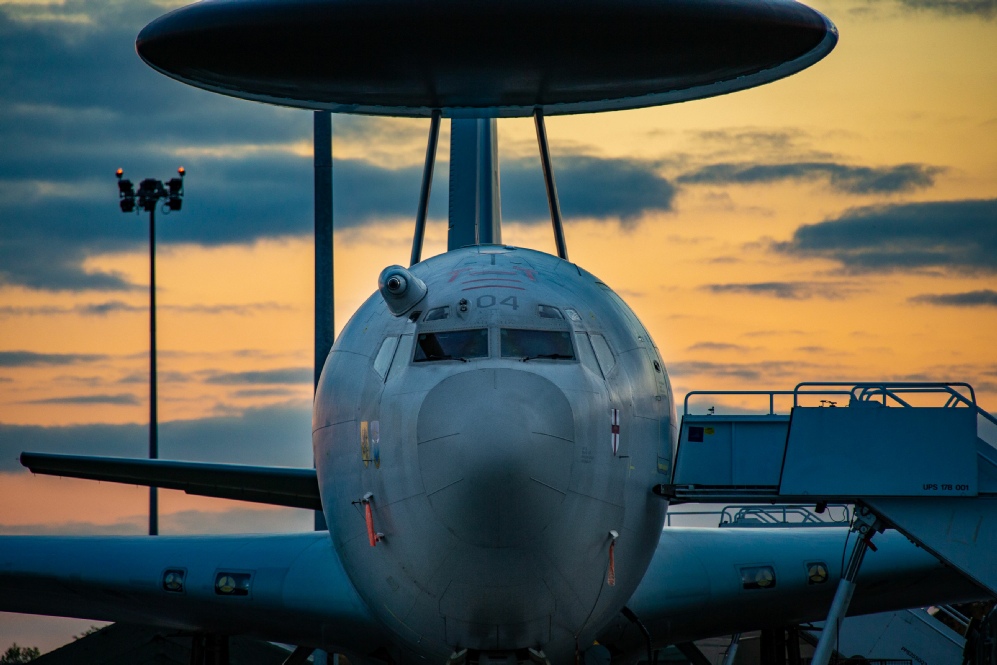
Arabia. Based on the Boeing 7070 airliner, it carries a large rotating radome above
the fuselage for its area surveillance radar, which can cover an area the size of
Western Europe from a single aircraft. Extensive communications and data links allow
radar and ESM data to be disseminated to sea units, ground stations and combat aircraft.
The E-3D variant entered service with the RAF in 1991, as a replacement for the ancient
Avro Shackleton AEW. Procured as part of a joint deal with France, UK E-3s are powered
by modern CFM-56 engines, whose fuel efficiency gives them a range/endurance advantage
of 3 hrs or 1,100 miles over USAF and NATO variants, allowing them to remain airborne
for over 11 hours or cover 5,750 miles range. Aerial refuelling can increase this
for as long as the crew can endure. Probe and drogue refuelling facilities are both
fitted allowing refuelling from a wide range of tanker aircraft.
The RAF Fleet is currently (2021) beginning a gradual draw-down with the intention
of replacing it with Boeing E-7 Wedgetail aircraft by December 2022. As of now only
3 of the original 7 RAF E-3Ds remain in service. A normal crew consists of 17-24
persons.
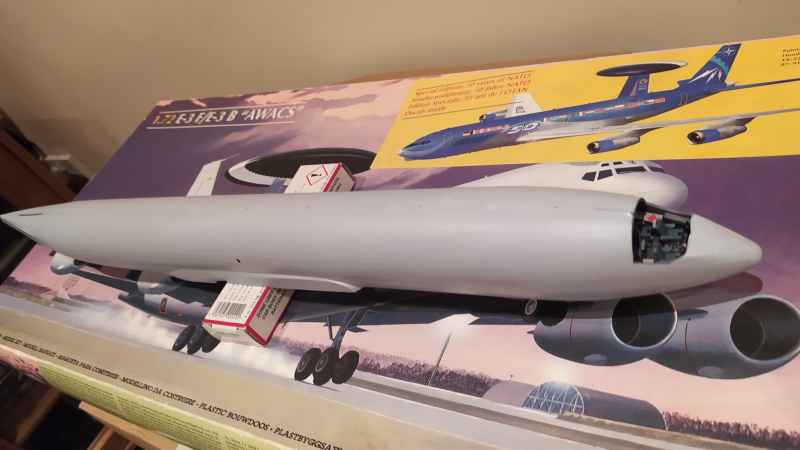
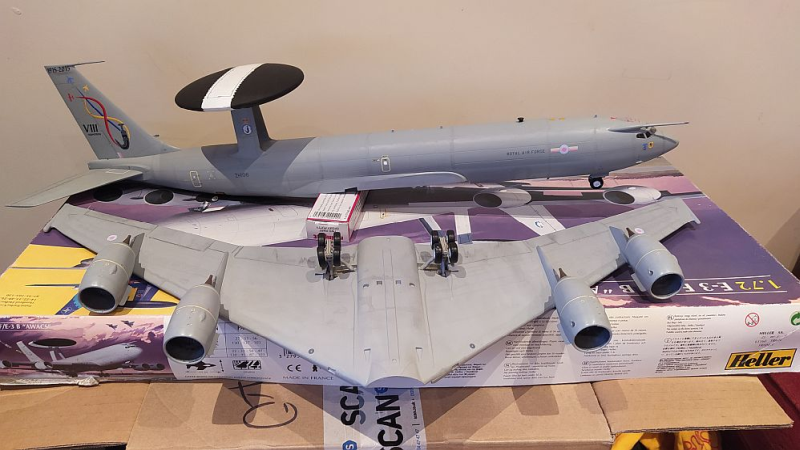
Building the Heller E-3 Kit:
I can confidently say that this is my largest model built to date! Size alone brings
some interesting challenges - e.g. it was much larger than my modelling desk and
I still have no idea where the finished model will go.
That said, this is not a complex kit and fit is generally good, although once again
size poses some challenges, for example keeping the very large fuselage joints aligned
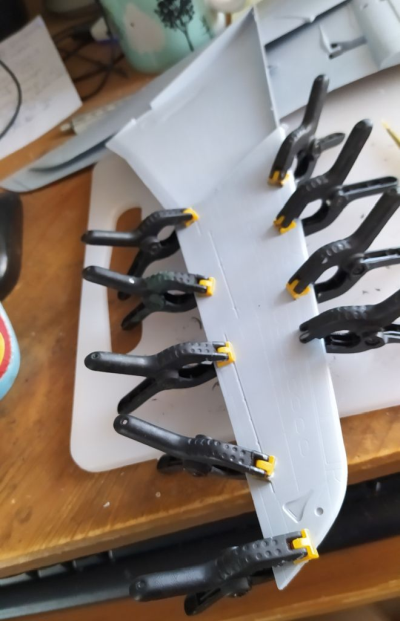
as the glue sets. One of my wings was slightly warped, but careful assembly and
lots of spring clips pushed it back into shape. I went to town on the cockpit with
scratch detail. Although very little of this can be seen once complete, it was fun
to do!
The general sequence of building and paint needs some careful thought and I didn’t
always follow Heller’s instructions; this is definitely not a kit that can be built,
then painted. I was keen to keep the wing sections separate at the very last until
build was complete. This aided painting by breaking it down into manageable chunks.
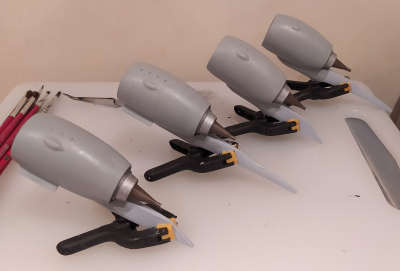
Engines were assembled separately painted before attaching, in fact they were one
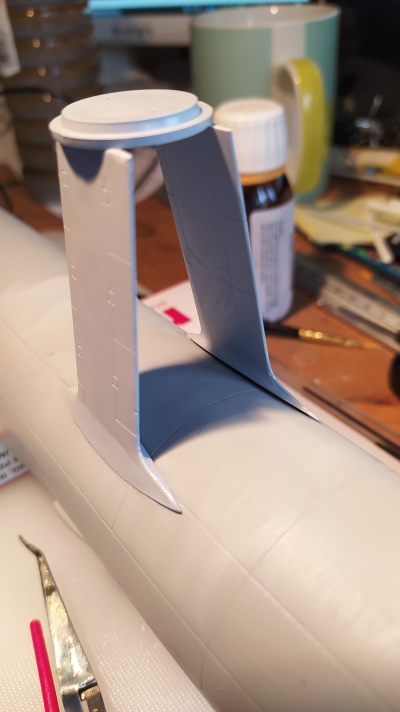
of the first things that I built. Similarly the radome legs were attached early,
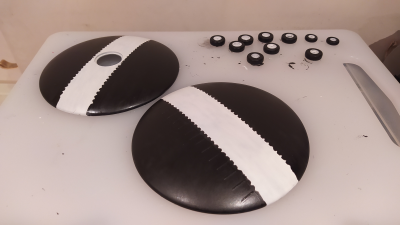
but the radome itself was painted and decalled off the kit, then attached after the
fuselage was painted, then touched up.
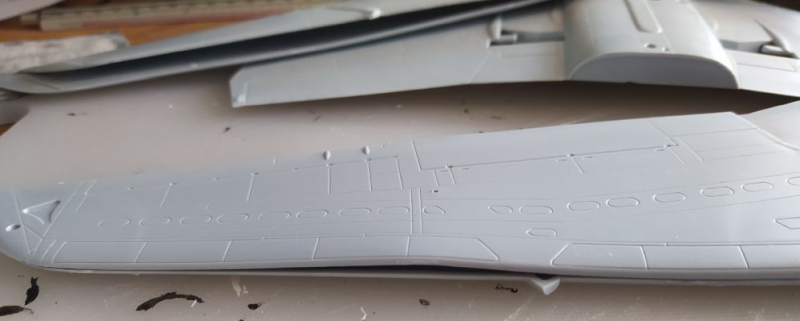
My wing sections remain detachable, which will help with storage and transport to
model shows (remember them? - 2020 has been somewhat sparce and 2021 is looking similar).
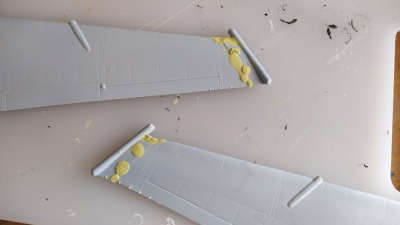
For the RAF variant, there is a need to trim the wing tips and add ESM pods to the
tips. Heller provide parts for this, but they are a little crude and require some
putty to get the right shape and join properly. I used very little filler elsehere
- a little Tippex on the wing leading edges and fuselage top although the engine
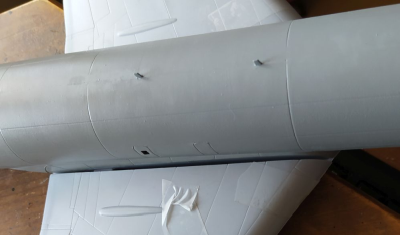
to wing joints were not good and did require some more serious work in an area that
is hard to get to,even before the wings are attached.
Background image and above: © UK National Archives /RAF Picture used under OGL Licence
Link to Website Index: 
Images and text © www.gengriz.co.uk unless otherwise noted
Painting was by hand brushing, using Humbrol enamel as is my norm. Large surfaces
such as this are not the easiest to cover and 3 thinned coats were needed (each one
offering the potential for disaster!). This task alone was spread over 32 weeks
and demanded a lot of patience. Heller recommend 85g of weight in the nose to allow
it not to tail-sit. I didn’t add any as I was already a little worried (pre warned
on the internet) about the strength of the undercarriage, so accepted that a discrete
prop would be needed. In the end this proved a sound guess, as all 10 wheels splayed
slightly when I did my photoshoot (a good 36 hrs after assembly). I now have 3 thin
sprue props (2 at the inner wing trailing edge and one at the centre leading edge
to add strength. As an aside, I am dubious whether 85g would really have been needed
- it’s not that much of a tail-sitter and less might have been OK!
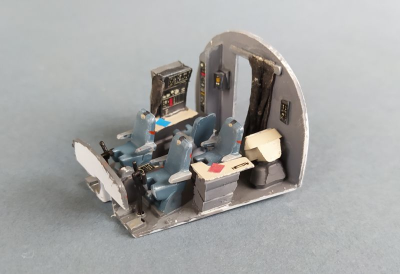

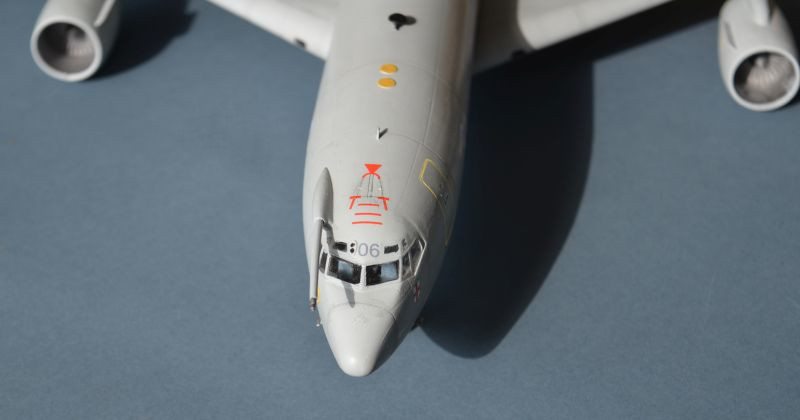
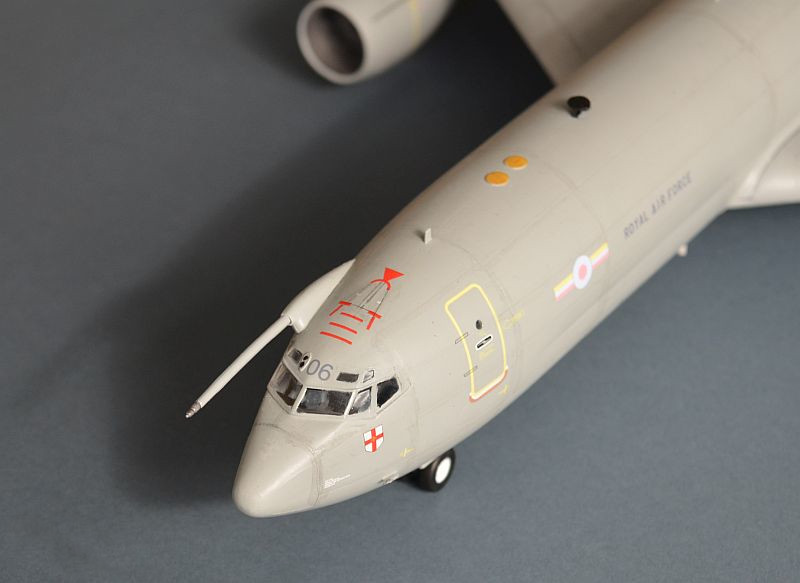
Above and right: Added scratch cockpit detail, mainly sprue-based, using internet
pictures and spare instrument decals from various other kits.
Above : The fuselage join was completed slowly and carefully, using liquid glue,
applied in stages, nose first, then tail, then middle section, trying hard to keep
the joints smooth and level.
Below - The 4 engines were assembled early on.
Right: The radome legs were not a good fit to the fuselage top and did need some
simple filler (I used Krystal Kleer).
This was the later Heller French Air Force/NATO 50 years issue of the kit. This
comes with the basic CFM-56 engines and other RAF differences that were provided
with the Airfix issue of this kit; not all of these are provided in its more recent
Heller USAF issues. Resin aftermarket ones are available, but are not cheap. Heller
decals were typical of their era - the USAF and NATO markings were OK, but the French
AF markings were every badly misaligned and not really usable. As a result I used
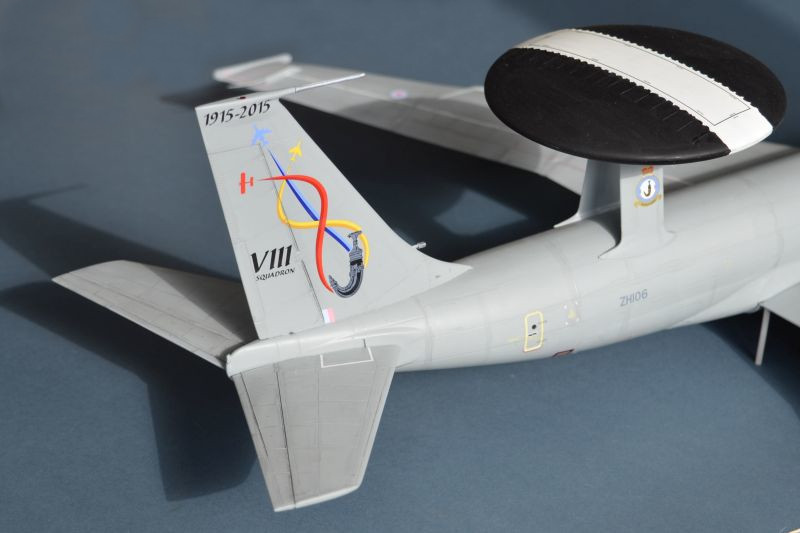
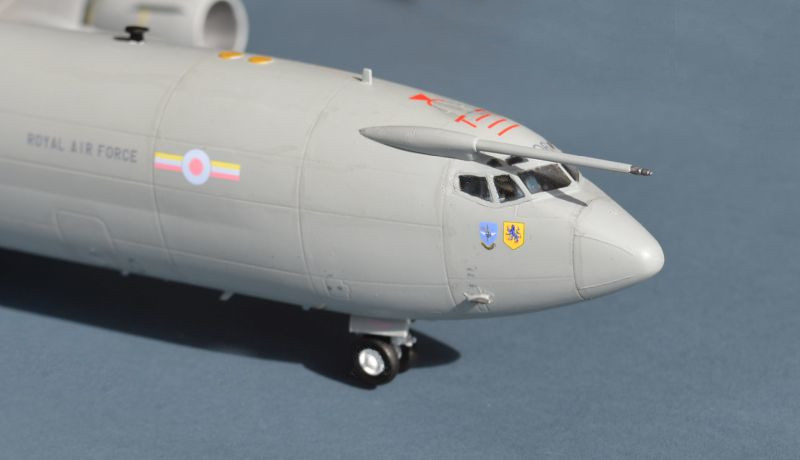
some excellent and colourful Combat Decals markings for the 100th Anniversary of
VIII Sqn.
In the same way as the RAF’s Shackletons were named after the characters in the children’s
TV series “The Magic Roundabout”, the E-3Ds were named after the 7 dwarves - I understand
this aircraft was named “Grumpy”. Decals for another aircraft in the 80th anniversary
markings are also included, but not quite so colourful. These are very nice decals,
again not cheap, but worth it, thin stretchy and relatively easy to apply. Unfortunately
the decal sheet is very crowded and due to the vague placement diagram it is VERY
difficult to find individual decals on the sheet, many of which are very small text
stencils.
This is a fun kit to build, with only its size posing any real problems and it was
an ideal “lockdown build project”. Assembly requires patience, but with care a good
fit and relatively unfrustrating build is possible.
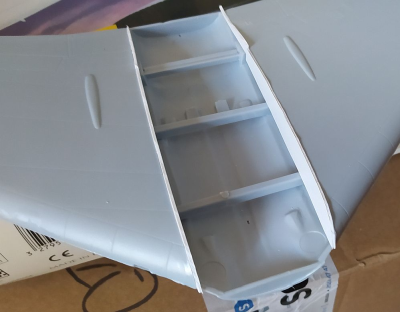
Below: The wing assembly on my kit remains detachable for storage and transport.
Right Top: Wing tips need to be trimmed and the provided RAF ESM pods added. The
wing curve needs to be straightened and holes filled as they are too far outboard.
Right middle and bottom: There is a large gap either side of the wing roots. I
added a plastic card gap filler as well as internal spreaders/braces.
Above and bottom: A little warping was obvious on the wing, but solved with careful
assembly and the use of many spring clamps.
The real thing in its NATO guise:
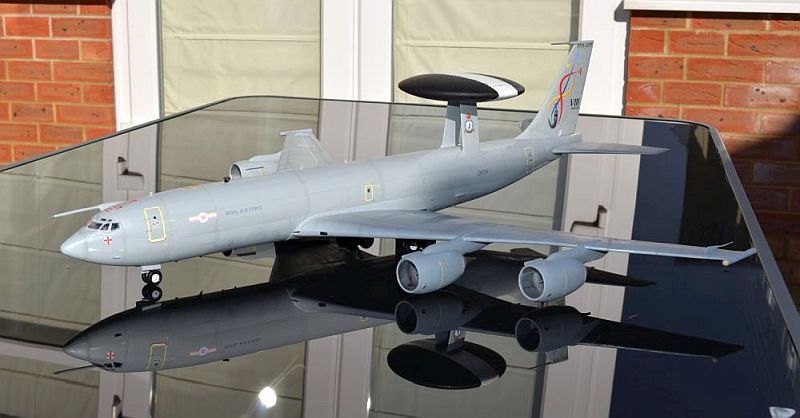
For the “average Joe” modeller such as myself, taking photographs of a model this
large does pose some problems - so apologies for the appearance of my conservatory
in several of these pictures!